How to Make a Wooden Cutting Board
A cutting board is the project that teaches you about wood species, grain direction, and food-safe finishing — all in an afternoon, with almost no tooling required.
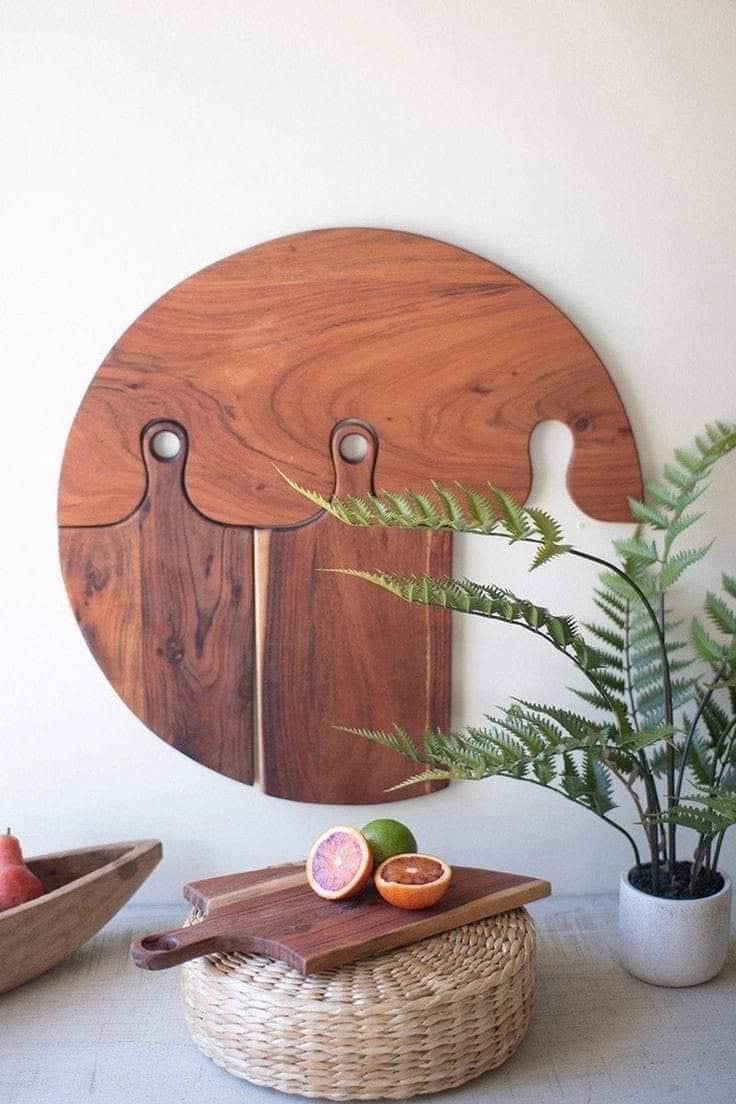
A cutting board is the quickest way to produce something genuinely beautiful from a small amount of material. It’s also the first project where your wood choice and finishing decisions matter as much as your cuts — cheap pine won’t hold up on a board that sees a knife every day, and the wrong finish will either flake off or make someone sick. Get those two things right and you’ve got something that’ll last a decade.
This plan covers a simple face-grain board: strips of hardwood glued edge-to-edge to make a flat, wide panel. It’s the fastest route to a good board and a great intro to glue-ups.
Finished size: approximately 12“ × 18“ × 1.5“, but you can adjust to whatever fits your lumber.
What you’ll need
Tools:
- Table saw or circular saw with a straightedge guide
- Jointer (ideal) or hand plane for glue-up faces — surfaces need to be flat for a tight glue joint
- Clamps — at least four pipe clamps or parallel clamps
- Random orbit sander or belt sander
- Router with a round-over bit (optional, but makes the edges much nicer)
No jointer? You can take the boards to a hardwood dealer and pay a few dollars to have them jointed, or use a hand plane and a straight shooting board. A flat mating surface is what matters.
Materials:
- Hardwood strips — maple, walnut, cherry, or a mix; roughly 1.5“ thick × as long as your board
- Titebond III or another food-safe waterproof glue (yellow glue will fail when the board gets wet)
- Mineral oil or a board cream (beeswax and mineral oil mixed) for finishing
Stay away from softwoods like pine or cedar for a cutting board. They dent and score too easily and won’t hold up to daily knife use.
The cut list
| Part | Material | Size | Qty |
|---|---|---|---|
| Board strips | Hardwood (1.5“ thick) | 18“ long × 2–3“ wide | 5–6 strips |
The width of your strips is flexible — anywhere from 1.5“ to 3“ looks good. Mix species (maple and walnut is the classic) for contrast, or keep it single-species for a cleaner look. Total width should add up to 12“ or whatever target you’re aiming for.
Step by step
1. Mill your strips. Rip each board to consistent width on the table saw. Then joint (or plane) the mating long-grain faces — these are the glue surfaces, and they need to be flat. Any gap in a glue joint is a place water and bacteria can get in. Not ideal on a cutting board.
2. Do a dry-run clamp-up. Before you spread any glue, arrange the strips in the order and orientation you want, clamp them lightly, and check that everything lines up flat. This is also when you decide whether you want the end grain stripes alternating (slightly reduces cupping potential) or all running the same direction.
3. Glue up the panel. Apply a thin, even coat of Titebond III to each mating face. Spread with a brush or your finger — you want full coverage without squeeze-out everywhere. Clamp across the width, alternating clamp pressure from the top and bottom of the panel to keep it from bowing. Wipe squeeze-out off immediately with a damp rag.
4. Let it cure fully. Titebond III needs at least an hour of clamp time, but leave it overnight if you can. Pulling clamps too early before the glue has cured puts stress on fresh joints.
5. Flatten the panel. After the clamps come off, the panel will likely have some squeeze-out ridges and possibly slight height variation between strips. A belt sander with 80-grit makes short work of this, or run it through a planer if you have one. Work both sides until the panel is flat and even.
6. Shape the edges and corners. Cut to final length and width. Round the corners with a jigsaw or just sand them by hand. A ¼“ round-over bit on a router along all four edges takes off the sharpness and makes the board much more comfortable to pick up.
7. Sand progressively. 80-grit to remove machine marks, then 120, then 220. Raise the grain by wiping the board with a damp cloth after 120-grit, letting it dry, then final-sanding with 220. This prevents the grain from raising again when the finish goes on.
8. Apply a food-safe finish. Mineral oil is the traditional first coat — it’s cheap, food-safe, and conditions the wood. Apply liberally, let it soak in for 20 minutes, wipe off the excess, and repeat three times over two days. Follow up with board cream (beeswax and mineral oil) for a surface that repels water without a film finish.
Never use linseed oil (goes rancid), polyurethane (chips off into food), or any solvent-based product on a cutting board.
Mistakes to avoid
Using the wrong glue. Standard wood glue (even some Titebond products) isn’t waterproof. Titebond III is. A cutting board that gets washed will have the joints fail eventually if you use anything less.
Skipping the dry run. Finding that a strip is slightly bowed after glue is already spread is a disaster. Check first, always.
Finishing too thin. Three coats of mineral oil is the minimum for initial conditioning. One coat looks nice but won’t protect the wood.
Putting it in the dishwasher. No matter what anyone says, a wooden cutting board shouldn’t go in the dishwasher. The heat and soak will warp and crack it.
More on finishing
Understanding how different finishes behave on wood is genuinely useful beyond cutting boards. Our guide to staining and finishing wood goes deeper on film finishes, penetrating oils, and when to use which — worth reading before your next project.
For complete dimensioned plans on boards, kitchen projects, and hundreds of other builds, our full review breaks down what a dedicated woodworking plan library includes and who it makes sense for.