How to Glue Up Wood Panels (Edge-Joining & Clamping)
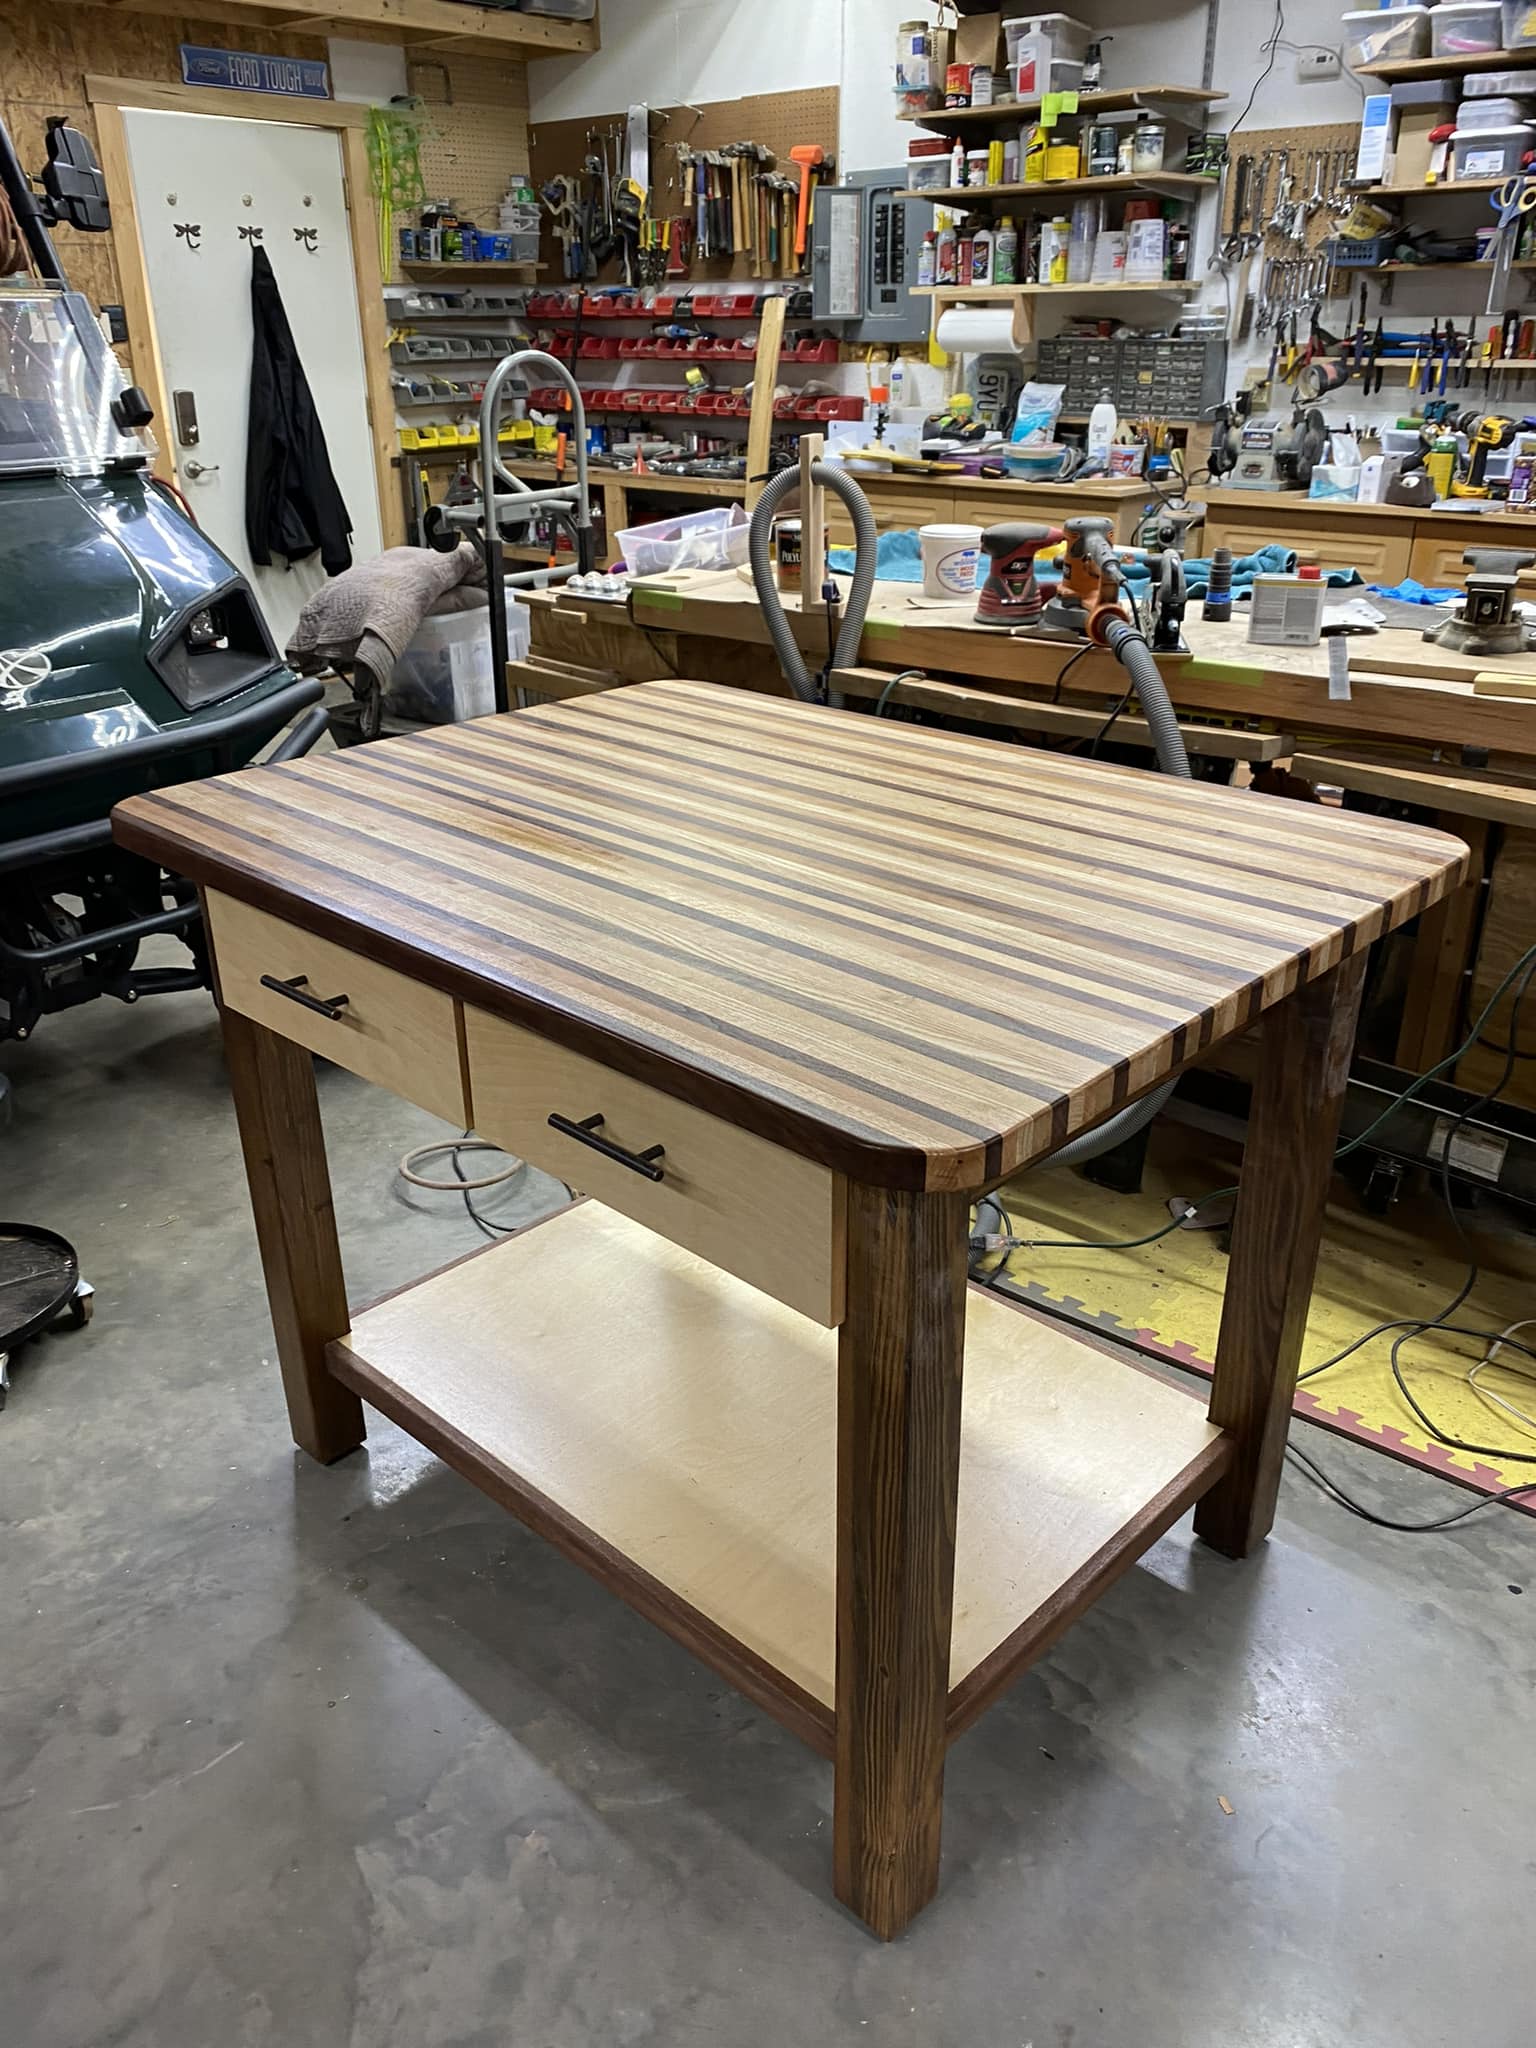
A glued-up panel is how you turn narrow boards into a wide tabletop, a cabinet side, or a workbench slab. Done right, the glue joint is stronger than the wood itself and the panel stays flat for years. Done wrong, you get gaps, cupped panels, and joints that open up in a dry winter.
Gluing up panels is one of those skills that looks simple until you’re twenty minutes into it with glue setting up faster than expected and a panel that’s twisting off the bench. The technique itself isn’t complicated — but the preparation is everything.
If you’re still learning how different timber types behave under the plane and through seasonal movement, our wood joints explained guide covers the underlying joint geometry that makes glue-ups work.
Board selection
A good glue-up starts at the timber yard, not at the bench.
Flatten before you buy mentally. Sight down each board from one end. You want boards that are straight along their length, without cup, bow, or twist. Some warp is acceptable if you have a jointer and planer to flatten it — but if you’re hand-planing, start with the straightest boards you can find.
Match the grain pattern. When multiple boards sit side by side, the end-grain pattern determines how the panel will move with humidity. There are two main approaches:
- Alternating rings (cathedral grain alternated): older advice, still common. Alternate the growth ring direction of adjacent boards so any cupping tendency works against itself, keeping the panel flat. This is mechanically sensible but can look patchy on the face.
- Best face matching: arrange boards so the face grain looks continuous and attractive, accepting that you’ll need good drying conditions and properly dimensioned boards to keep it flat. This is the approach most furniture makers use with well-dried timber.
For beginners, use flat-sawn boards from the same tree run if possible — the grain will match better and the price is lower.
Color and grain continuity. Lay all the boards on the bench before committing. Rotate and flip them until the grain flows naturally across the joints. Mark the top face of each board with a triangle pointing up so you don’t lose the arrangement.
Edge preparation
The joint is only as good as the surfaces being glued. Two perfectly flat, square edges with good glue = a joint stronger than the wood. Two slightly cupped edges = a gap that opens in six months.
Jointing the edges: run each board edge over a jointer to produce a flat, square surface. If you don’t have a jointer, a hand plane set very fine, guided by a straightedge, achieves the same result. Check with a square after — the edge needs to be 90° to the face.
The “rocking test”: stand two boards on their edges, jointed faces together, hold them up to the light. You should see no light through the joint. If you can see light at the center (the boards are bowed convex), the clamping pressure can close that gap — this is sometimes done intentionally, called “springing” a joint, but keep it minimal. If you see light at the ends, the glue-up will pull those ends tight and potentially bow the panel. Re-joint.
No sanding edges before gluing. Sandpaper rounds the very edge fibers. Glue needs a freshly planed or jointed surface for maximum adhesion.
Glue choice
For interior solid wood panels, PVA wood glue (yellow glue / aliphatic resin) is the standard. It’s strong, cheap, easy to clean up wet, and sands cleanly when dry. Titebond II is a common benchmark — any equivalent product works.
Open time: standard PVA gives you roughly 5–10 minutes of working time before it starts setting. For large panels with many boards, use Titebond Extend or a slow-set PVA to give yourself more assembly time. Don’t rush a glue-up.
Waterproof options: for outdoor panels or anything that might see moisture, use Titebond III or a urea-formaldehyde glue (cascamite, Extramite). These have longer open times but take longer to cure.
Glue application
Spread on both faces of the joint — glue the mating edge of each board, not just one. A thin, even coat that covers the full surface without puddles. A foam roller cut into a strip, a brush, or a glue applicator roller all work.
Avoid holidays (bare spots). An unglued area is a joint that will fail under stress. Cover the full surface quickly.
Pot life: once you start spreading, you’re on the clock. Have everything — clamps, cauls, pipe, pads — ready before the glue comes out.
Clamping setup
How many clamps
A common rule of thumb: one clamp every 8 to 12 in (200 to 300mm) along the panel. For a 24 in (600mm) wide panel, that’s 2–3 clamps minimum. More joints = more clamps needed.
Cauls
Cauls are stiff, straight pieces of wood (or aluminum angle) clamped across the panel perpendicular to the joints, above and below. They serve two functions: they distribute clamping pressure across the full width (rather than just at the clamp contact points) and they keep the panel flat by preventing it from bowing under clamping pressure.
Make cauls from a straight piece of MDF or hardwood. A slight camber (bow upward in the center) actually improves pressure distribution when the caul is clamped down, but a straight caul with even clamping works fine.
Clamping sequence
- Lay clamps on the bench, alternating below and above the panel to counteract the tendency of clamp pressure to bow the assembly. This is the standard alternating pattern — parallel clamps below and above in roughly equal numbers.
- Dry-clamp first (no glue) to confirm clamp positions and that everything lies flat.
- Apply glue, assemble boards in order, and apply clamps in sequence from the center outward.
- Apply cauls last, clamping them down to keep the panel flat.
How much pressure
Enough to close any gaps and produce a thin line of squeeze-out along the full joint. Not so much that all the glue is squeezed out. Over-clamping starves the joint. The squeeze-out should be a consistent bead along the joint line, not sporadic blobs with dry sections.
Squeeze-out
Squeeze-out is the glue that gets pushed out of the joint under clamping pressure. It’s a good sign — it tells you there was enough glue and pressure. The question is what to do with it.
Two approaches:
- Wait until rubbery (30–45 minutes), then slice off with a chisel. This is the preferred approach. Wet glue smears into the grain and is hard to sand out; cured glue is rock hard and chips cleanly. Catch it at the rubbery stage and it peels in one motion.
- Wipe wet with a damp cloth. Faster, but the water can raise the grain and the diluted glue soaks deeper into the wood fibers. Acceptable on painted pieces; not ideal under stain or clear finish.
Under the panel: check the underside squeeze-out too. It drips and dries out of sight.
Cure time and flattening
Leave the panel clamped for the full cure time the manufacturer specifies — typically 1 hour for handling, 24 hours for full cure. Don’t sand or flatten until fully cured; removing clamps too early lets joints shift.
Flattening: even a careful glue-up rarely comes off the bench perfectly flat. The joint lines are rarely all exactly the same height. Options:
- Scraper or hand plane: the traditional approach. A sharp card scraper levels the joints without removing much material. A hand plane set fine takes it further.
- Random orbital sander: works for small panels. Start at 80 grit to level any height differences, progress through 120, 150, 180.
- Wide belt sander or drum sander: the machine solution for large panels. Takes two or three passes to bring everything flat.
Always sand or plane across and along the grain — not at an angle, which creates visible scratches that show under finish.
A note on plans
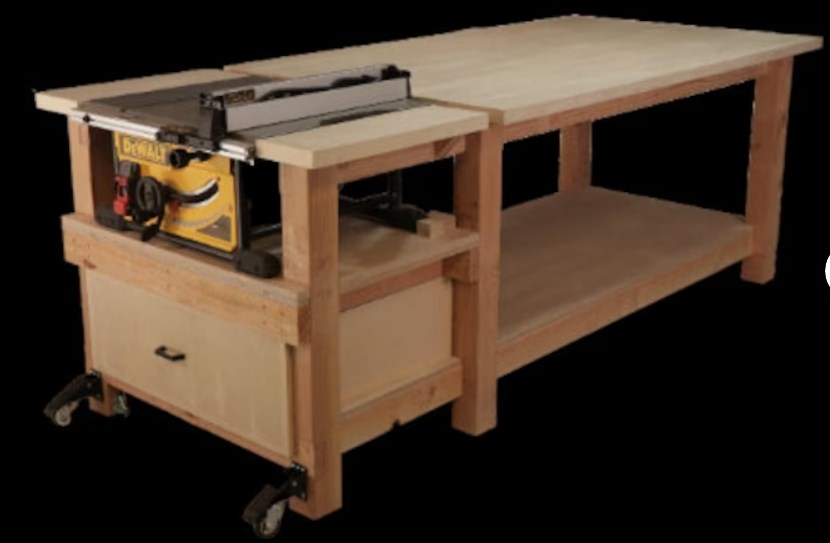
A glue-up is the first step of most solid wood projects, not the last — knowing the final panel dimensions before you glue means you cut the boards right the first time. Complete plans give you final panel width, length, and thickness so you know what you’re aiming for. If you’re sourcing or building plans for your next project, our review of woodworking plan libraries covers what a well-specified plan actually provides.