How to Build a Nightstand
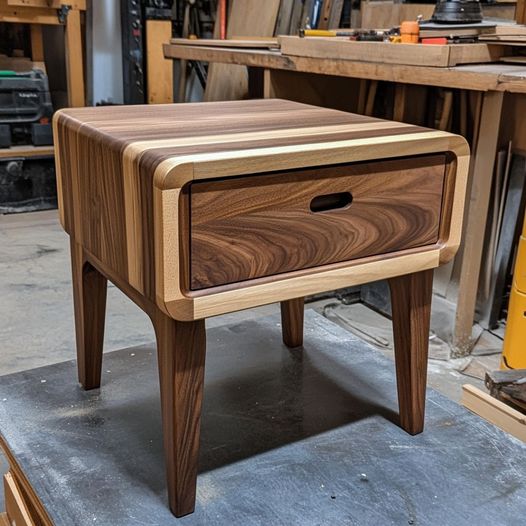
A nightstand is one of those builds that punches well above its difficulty level. Simple box construction, a single drawer or open shelf, and you end up with a piece of furniture you'll see every morning.
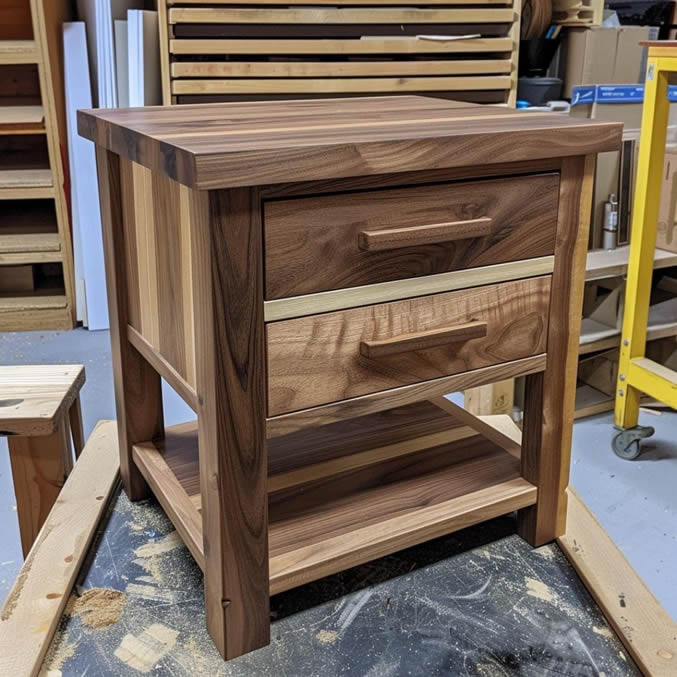
A nightstand is the build that surprises people. On paper it sounds plain — a small box on legs — but when you set a finished one down beside the bed it looks like a real piece of furniture, not a first project. That’s because the proportions are forgiving, the joinery is simple, and you have a lot of latitude on design without adding complexity.
This plan targets a classic two-shelf nightstand: a top surface, a lower shelf, four legs, and aprons tying it all together. Finished dimensions: 18“ wide × 16“ deep × 26“ tall. Scale up or down to match your bed height.
What you’ll need
Tools:
- Miter saw or circular saw
- Drill/driver
- Pocket-hole jig
- Random orbit sander or sandpaper block
- Tape measure and speed square
- Clamps (four is plenty)
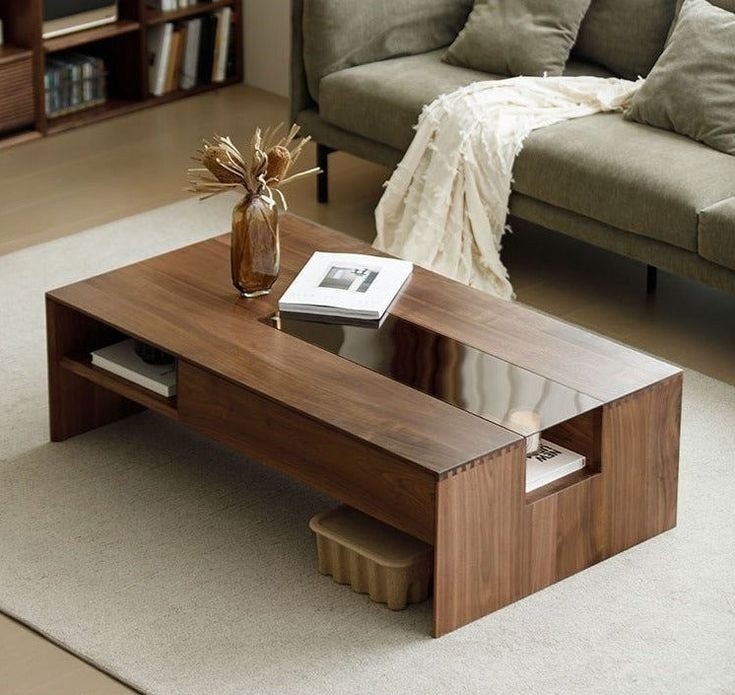
This build uses the same apron-and-leg structure as a coffee table — if you’ve done that one, the nightstand will feel familiar. The main difference is that you’re working at a taller, narrower scale.
Materials:
- 4× legs at 1.5“ × 1.5“ × 25“
- 2× long aprons (top and bottom) at 1× 3.5“ × 12“
- 2× short aprons (top and bottom) at 1× 3.5“ × 11.5“
- 1× top panel at ¾“ × 18“ × 16“
- 1× lower shelf at ¾“ × 12“ × 13“
- 1.25“ pocket screws
- Wood glue
- 80, 120, and 220-grit sandpaper
- Finish of your choice
The cut list
| Part | Material | Size | Qty |
|---|---|---|---|
| Legs | 1.5“ × 1.5“ square stock | 25“ | 4 |
| Long aprons | 1× 4 (ripped to 3.5“) | 12“ | 4 |
| Short aprons | 1× 4 (ripped to 3.5“) | 11.5“ | 4 |
| Top | ¾“ plywood or solid panel | 18“ × 16“ | 1 |
| Lower shelf | ¾“ plywood or solid panel | 12“ × 13“ | 1 |
You’ll use two sets of aprons — one set near the top to support the top panel, and one set lower to carry the shelf. Space the lower set about 8“ up from the floor for a useful storage height.
Step by step
1. Cut and prep the legs. Get all four legs to identical length before anything else. Stack them and mark them together if you can, or gang them with tape. A 1/16“ discrepancy becomes an obvious wobble when the piece is done. Sand the faces to 120 grit while you have them loose — much easier than sanding inside the assembled frame later.
2. Drill the pocket holes. Set your pocket-hole jig for ¾“ material and drill two holes at each end of every apron board, on the inside face. Mark which face is “inside” before you drill — flipping a board is a frustrating mistake.
3. Assemble the two side frames. Join two legs with one short top apron and one short lower apron. The top apron sits ¾“ down from the top of the legs (leaving a ledge for the top panel to rest on). The lower apron sits about 8“ up from the bottom. Glue, clamp, pocket screw, and check for square. Build both frames and let them sit 20 minutes.
4. Connect the frames. Stand both side frames upright and join them with the four long aprons — two at the top, two at the lower shelf position. Glue, pocket screw, and check all four legs are touching a flat surface before the glue grabs. If one leg is rocking, twist the frame gently and clamp it flat while it cures.
5. Drop in the lower shelf. Rest the shelf panel on the lower aprons and fasten up through the aprons with 1“ screws. If your shelf is solid wood, leave a small gap at each end to allow seasonal movement. Plywood can be fastened edge-to-edge.
6. Attach the top. Center the top panel on the frame and fasten through the top aprons with 1.25“ screws from below. Plywood tops can be screwed down tight. Solid wood tops should use figure-8 clips or tabletop fasteners to allow movement.
7. Sand and finish. Work through 120 and then 220 grit. Ease every edge — a nightstand takes a lot of elbow contact in the dark. Apply two thin coats of finish, scuff lightly with 320 between coats.
Mistakes to avoid
Not checking square after each assembly step. Square the side frames before joining them, and square the whole carcase before the top goes on. Fixing it after the glue cures means cutting it apart.
Legs that taper inward at the top. If your top aprons are too wide or set too high, the legs can visually close in and look awkward. Keep the top apron flush with the top of the leg — the top panel sits on the apron, not between the legs.
Skipping the lower shelf supports. If you fasten the lower shelf only from the outside aprons, it can sag under the weight of books or a phone charger over time. Drilling up through the aprons gives much better long-term support.
Using the wrong finish for a bedroom piece. A nightstand is where you set drinks, rest phones, and probably knock a glass over every few months. An oil-only finish won’t hold up. Wipe-on poly or a water-based topcoat gives you a wipeable surface without looking like a piece of cheap retail furniture.
Want complete plans for thousands of projects?
This is one nightstand plan. If you want dimensioned drawings, cut lists, and step-by-step instructions for thousands of projects in one library, our full TedsWoodworking review breaks down exactly what’s in the package and who it actually makes sense for.