How to Build a Raised Garden Bed
A raised garden bed is one of the most satisfying outdoor builds you can do — it's fast, the lumber is cheap, and you'll use it every single year. The trick is picking the right wood so it doesn't rot out in three seasons.
A raised garden bed is the outdoor build that requires the least woodworking skill and delivers the most visible result. If you’ve been meaning to build one and just haven’t gotten around to it, this plan gets you there in a weekend with basic tools and lumber you can pick up at any hardware store. The finished size here is 4’ × 8’ × 12“ tall — the classic raised bed dimension that lets you reach the center from either side without stepping in.
The only real decision you need to make up front is the wood species. Get that right and a raised bed will last 10–20 years. Get it wrong and you’re rebuilding in three.
Wood selection — the most important decision
Cedar: the go-to. Naturally rot-resistant, lightweight, smells good, looks great. The heartwood (dark reddish-brown center of the log) is what’s durable — sapwood (pale outer wood) is not. Most cedar at big-box stores is a mix of both. It’ll still outlast pine, but true heartwood cedar lasts much longer.
Douglas fir: widely available, affordable, takes paint or stain well, and lasts a reasonable 5–7 years in-ground. Not as naturally rot-resistant as cedar but a solid budget option.
Black locust: extremely rot-resistant, harder to find, but will legitimately last 20+ years in soil. Worth tracking down from a specialty lumber dealer if you’re thinking long-term.
Treated lumber: modern ACQ-treated lumber (post-2003) is considered safe for vegetable gardens by most agricultural extension services, but some growers still prefer to avoid it on principle. Your call.
Avoid: standard pine without treatment — it’ll rot in 2–3 seasons.
What you’ll need
Tools:
- Circular saw or miter saw
- Drill/driver
- Level
- Tape measure and speed square
- Rubber mallet (for persuading corner posts into the ground)
No specialized tools needed. If you have a drill and a saw, you can build this.
Materials (for a 4’ × 8’ × 12“ tall bed):
- 4× 2×6 boards at 8 feet (long sides)
- 4× 2×6 boards at 45“ (short sides — accounts for 2×6 corner posts)
- 4× 4×4 posts at 24“ (corner posts — 12“ above grade, 12“ driven into ground)
- 3“ exterior screws or 3.5“ structural screws
- Optional: landscape fabric to line the bottom
Use exterior-rated fasteners — stainless steel or hot-dipped galvanized. Standard zinc screws will rust and stain the wood within a season in outdoor conditions.
The cut list
| Part | Size | Qty |
|---|---|---|
| Long side boards | 2×6 at 96“ | 4 |
| Short side boards | 2×6 at 45“ | 4 |
| Corner posts | 4×4 at 24“ | 4 |
The short side boards are 45“ rather than 48“ because they fit between the long side boards, and the 2×6 is 1.5“ thick — 48“ − (2 × 1.5“) = 45“. This gives you a flush outer face on the corners.
Step by step
1. Cut everything. Cut all boards to length. The 4×4 corner posts can be cut or pounded in as-bought if your soil is soft enough and the depth works out. Otherwise, cut them to your desired above-grade height plus 12“ for ground penetration.
2. Lay out the location. Mark the corners of your bed with stakes. Use a long straightedge or string line to keep the sides straight. Check for level across the site — if you have a slope, decide now whether you’re stepping the bed or digging one side down. Step beds look better on a slope; digging one side down is faster.
3. Set the corner posts. Drive the 4×4 posts into the ground at each corner location, 12“ deep. Use a rubber mallet or post driver. Check plumb with a level as you go. If the soil is too rocky to drive posts, set them in poured concrete in 18“-deep holes — it adds an afternoon of drying time but gives you a permanent bed.
4. Attach the long side boards. Run your first 2×6 board along the outside face of the corner posts, flush with the post top. Drill pilot holes to avoid splitting and drive two 3“ screws per post connection. Repeat for the second 2×6 below it — stagger the seams if you’re using shorter boards joined in the middle.
5. Attach the short end boards. Fit the short boards between the long side boards at each end. The outside face of the corner post should be flush with the outside face of the long board — the short board sits between them. Screw into both the post and the long board’s end grain for a solid connection.
6. Check for square. Measure diagonals corner to corner. They should match. If they don’t, rack the frame gently until they do, then lock the square by driving one more screw at each corner. A square bed means uniform spacing when you plant in a grid.
7. Level the top. Walk around the frame and check that the top is reasonably level side to side and end to end. A bed that’s out of level by more than an inch will water unevenly — soil and water both flow to the low corner.
8. Line and fill. Staple landscape fabric to the inside bottom if you’re worried about weeds coming up through the soil. Fill with a mix of topsoil, compost, and a little coarse sand (the Mel’s Mix formula — equal thirds peat/vermiculite/compost — works well for intensive planting). Water the soil and let it settle before planting.
Mistakes to avoid
Using untreated pine or cheap softwood. It’ll look fine for a season and be rotting by the second winter. Cedar or fir costs more at the lumber yard; it costs less than rebuilding every three years.
Standard zinc screws. They rust fast when in contact with soil and treated wood. Hot-dipped galvanized or stainless only for outdoor builds.
Skipping the square check. A bed that’s a few inches out of square is frustrating every time you plant in a grid pattern or try to cover it with row cover.
Filling with straight topsoil. Pure topsoil compacts over time and doesn’t drain well. Mix in at least 30–40% compost for a bed that drains, breathes, and doesn’t turn into a brick by midsummer.
No access plan. A 4’ × 8’ bed is designed to be reached from both long sides. If you put it against a fence, you lose half the bed. Position it so you can walk all the way around it.
Want to keep building outside?
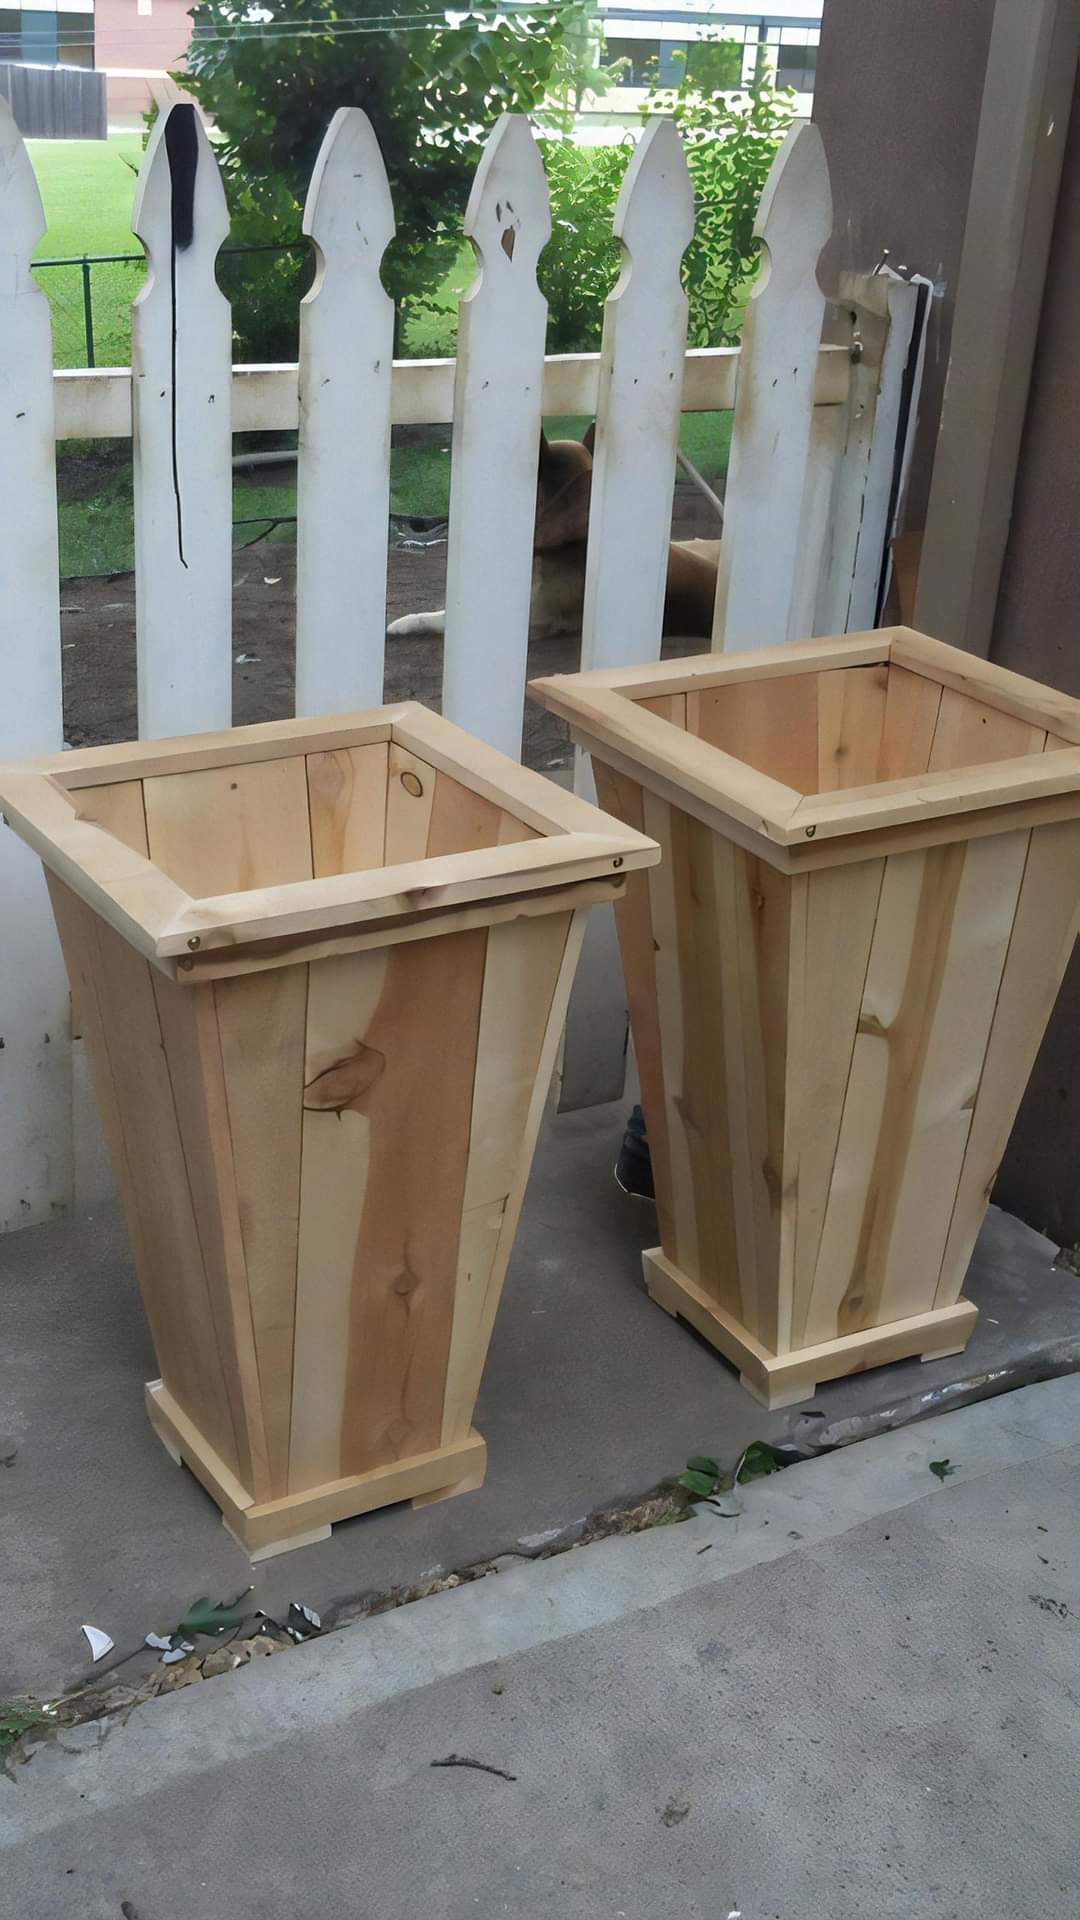
If raised beds have you hooked on outdoor projects, the outdoor planter box uses similar materials and techniques with a more finished look — worth building as a companion piece. And if you want dimensioned plans for dozens of outdoor builds — cold frames, potting benches, garden furniture, and more — our full review covers what a complete plan library includes and who it makes sense for.