Build a Cedar Planter Box for the Garden
Cedar is the best material for an outdoor planter box, and this is the build that proves it. No fancy joinery, a short cut list, and a finished piece that'll outlast most of what you can buy at the garden center.
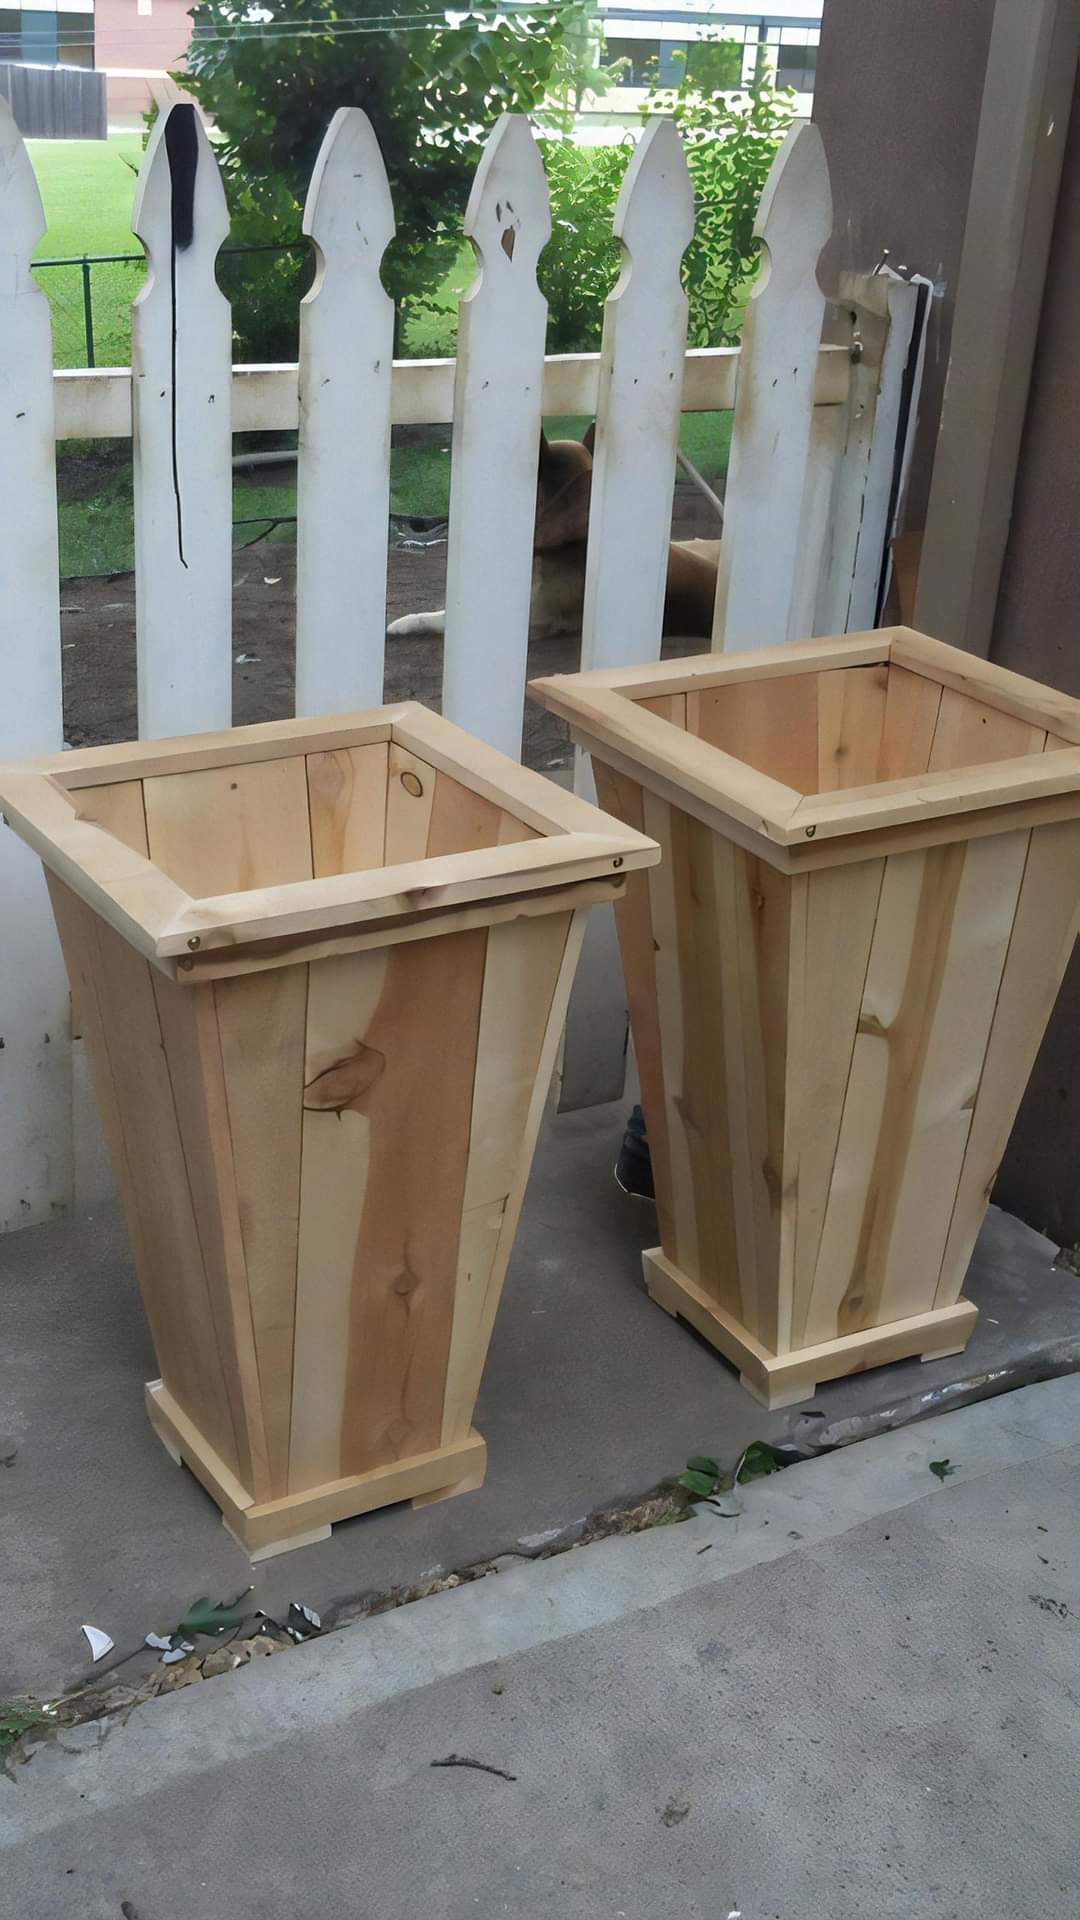
A planter box is the outdoor equivalent of the farmhouse bench — a build that’s forgiving on fit-up, short on materials, and immediately useful. If you’ve already knocked out our farmhouse bench plan, this is a natural next step. Same principles, same basic tools, but now you’re building for the weather.
Why cedar
Cedar is the go-to for outdoor wood projects for a few reasons. It’s naturally rot-resistant — the oils in the heartwood repel moisture and insects without any treatment. It’s lightweight for its size, so a finished planter you can actually carry. And it takes a finish well if you want to add color or protection.
The alternative — pressure-treated pine — is fine structurally but contains preservatives you don’t necessarily want in a food garden. For herbs or vegetables, cedar every time.
What you’ll need
Tools:
- Circular saw or miter saw
- Drill/driver
- Tape measure and speed square
- Clamps
- Sandpaper: 80 and 120 grit (outdoors, you don’t need to go finer)
Materials (for a 24“ × 12“ × 12“ box):
- 2× cedar fence pickets or 1×6 cedar boards, 8 feet long
- 1× cedar 2×2, 4 feet long (corner posts)
- 1.75“ exterior screws (stainless or hot-dipped galvanised — not standard zinc, which rusts)
- Exterior wood glue (Titebond III or similar)
- Exterior finish: cedar oil, teak oil, or exterior-grade deck stain (optional but recommended)
- Landscape fabric or a few small pebbles (for drainage layer)
The cut list
| Part | Size | Qty |
|---|---|---|
| Long side panels | 1×6 × 24“ | 4 |
| Short side panels | 1×6 × 10.5“ | 4 |
| Bottom boards | 1×6 × 22.5“ | 2 |
| Corner posts | 2×2 × 10.5“ | 4 |
Each side is two boards stacked — this gives you the 12“ height without needing wide stock. The 2×2 corner posts are what everything screws into, so they’re structural.
Step by step
1. Cut everything first. Lay it all out before drilling anything. Cedar fence pickets can vary slightly in width, so check the actual dimensions against your cut list and adjust the bottom boards if needed.
2. Assemble the corner posts. The four 2×2 posts are the skeleton. For each corner, you’ll drive screws through the long side panels into the face of the post. Predrill every hole — cedar splits on end grain if you skip this step.
3. Build the sides. Working on a flat surface, stand two long-side boards against two corner posts. Apply exterior glue to the post faces, press the boards in, and drive two screws per board per post. Keep it square — check the diagonal before the glue grabs.
4. Add the short sides. Once the long sides are together and square, glue and screw the short-side boards into the remaining two faces of the corner posts. You now have a box without a bottom.
5. Fit the bottom. Lay the bottom boards across the inside base of the box with a small gap (about 1/4“) between them for drainage. Screw them up from underneath into the side panels, or drive screws down through the side panels into the ends of the bottom boards. Leave the gaps — they’re not a mistake, they’re drainage.
6. Add drainage. Drill four to six 3/4“ holes through the bottom boards if the gaps alone feel insufficient. Line the inside base with landscape fabric cut to size — it keeps soil in but lets water through. You can also use a layer of pebbles below the fabric for extra airflow.
7. Sand and finish. Knock off any sharp edges with 80 grit, then run 120 over everything. Outdoors, rough texture traps moisture; smoother is better for longevity. Apply your finish of choice — cedar oil is the simplest and keeps the natural look. Two coats, letting each dry fully. Hit the end grain especially hard — it absorbs more than the face grain.
Finishing for outdoors — what actually works
A lot of cedar planter builds skip the finish entirely. Cedar does fine without treatment for years, but a finish doubles the lifespan and keeps the color from going that silvery gray. What works:
- Cedar or teak oil: penetrating, easy to apply, natural look, needs recoating every 1-2 seasons
- Exterior deck stain: more color options, longer interval between recoats, slightly more involved to apply evenly
- Exterior paint: longest protection, completely changes the look — good if you want the box to match outdoor furniture
What doesn’t work well: indoor polyurethane or varnish. It peels when exposed to freeze-thaw cycles and isn’t worth the trouble.
Mistakes to avoid
Wrong screws. Standard zinc-coated screws rust out within a season outdoors. Get stainless or hot-dipped galvanised. The difference in cost is negligible compared to rebuilding a box because the screws failed.
No drainage. Plants sitting in waterlogged soil rot, and the box rots with them faster than it would in normal conditions. Gaps in the bottom boards aren’t enough on their own if you’re using a solid pot-liner — add drilled holes.
Skipping predrilling near ends. Cedar is forgiving, but end grain is still end grain. Predrill and you won’t split a board you’ve already cut to size.
Treating the inside. Whatever finish you use, keep it off the interior surfaces. Oils and stains can leach into soil — especially a concern in a food garden. The interior can be left bare or lined with landscape fabric.
Want to scale this up?
A 24“ box is a good start. If you want a raised bed, a long window box, or a planter bench — something that involves more structural planning — dimensioned diagrams make a real difference. We covered exactly that kind of plan library in our TedsWoodworking review, including whether the depth of plans is worth it for outdoor projects.