How to Build a Coffee Table (Simple Beginner Plan)
A coffee table is the living room piece everyone notices. Built right, it looks like it cost three times what it did. This plan keeps the joinery simple without making the result look cheap.
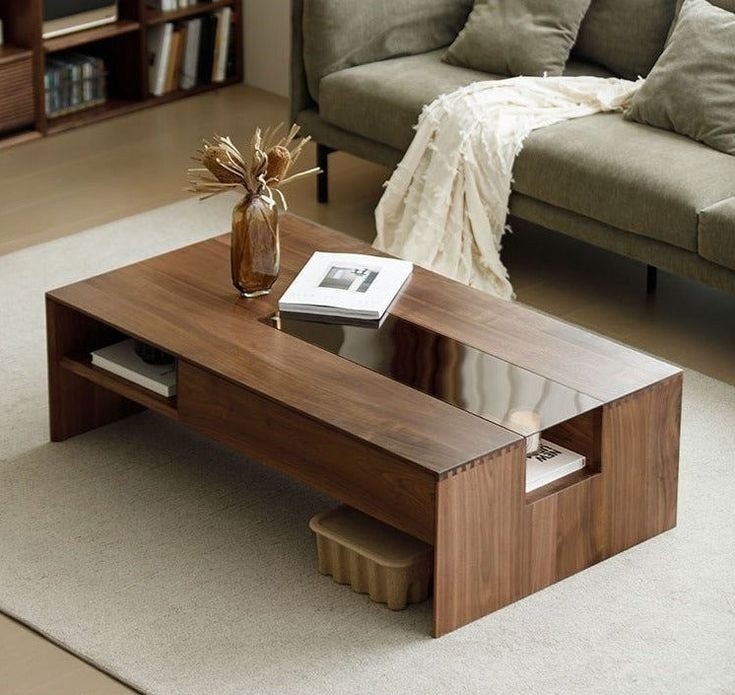
A coffee table is one of the best second or third builds you can do. It’s bigger than a shelf but simpler than a dining table — the proportions are forgiving, the joinery is minimal, and you end up with a piece you’ll actually use every day. This plan targets a classic slab-top table with tapered legs: approachable for a beginner, clean enough to live in most rooms.
Finished dimensions: 48“ long × 24“ wide × 18“ tall. Adjust as needed for your space.
What you’ll need
Tools:
- Miter saw or circular saw
- Drill/driver
- Pocket-hole jig (optional but makes the apron joints much faster)
- Random orbit sander or sandpaper block
- Tape measure and speed square
- Clamps (at least four)
No table saw required. If you’re still putting your shop together, the farmhouse bench is a good warm-up build before this one — same basic apron-and-leg structure.
Materials:
- 1× panel or glued-up boards for the top (48“ × 24“ × ¾“)
- 4× hardwood or poplar legs at 1.5“ × 1.5“ × 17.5“
- 2× long apron boards at 1× 3.5“ × 41“
- 2× short apron boards at 1× 3.5“ × 17“
- 1.25“ pocket screws or dowels
- Wood glue
- 80, 120, and 220-grit sandpaper
- Finish of choice (wipe-on poly or Danish oil work well for a table that sees daily use)
The cut list
| Part | Material | Size | Qty |
|---|---|---|---|
| Top | ¾“ plywood or solid panel | 48“ × 24“ | 1 |
| Legs | 1.5“ × 1.5“ square stock | 17.5“ | 4 |
| Long aprons | 1× 4 (ripped to 3.5“) | 41“ | 2 |
| Short aprons | 1× 4 (ripped to 3.5“) | 17“ | 2 |
If you’re using solid wood for the top, glue up narrower boards to reach 24“. Let the glue-up cure overnight before anything else.
Step by step
1. Mill your legs. If you’re buying pre-squared stock, this step is done. If you’re starting from rough lumber, get the legs to consistent 1.5“ × 1.5“ square first. Consistent legs mean a table that sits flat.
2. Cut the apron pieces. Rip and crosscut all four aprons to length. Mark each board’s inside face before you drill — it’s easy to accidentally flip one.
3. Drill the pocket holes. Set your pocket-hole jig for ¾“ material and drill two holes at each end of every apron board, on the inside face. These are what attach the aprons to the legs without any visible hardware.
4. Assemble the short ends first. Join two legs with a short apron at the top. Apply glue, clamp tight, and drive the pocket screws. Use a speed square to confirm 90° before the glue grabs. Build both short end assemblies and let them sit for 20 minutes.
5. Connect the long sides. Stand both short assemblies upright and join them with the long aprons. Glue and pocket screw the same way. Check that all four legs touch a flat surface — if one leg is twisted, fix it now before the glue cures.
6. Attach the top. Lay the top face-down on your bench. Center the base on it and fasten up through the aprons with 1.25“ screws. If your top is solid wood, use elongated figure-8 clips or tabletop fasteners instead of screws — solid wood needs to move seasonally, and a glued or rigidly screwed-down top will crack over time. Plywood tops can be screwed directly.
7. Sand and finish. Work through 80 (if needed), then 120, then 220 grit. Ease every edge slightly with 120 — sharp corners on a coffee table get knocked constantly. Apply two thin coats of finish, scuff lightly with 220 between coats, and call it done.
Mistakes to avoid
Skipping the square check. If the base isn’t square when the glue cures, you’re sanding or shimming legs for a long time. Take the 30 seconds to check diagonals — they should be equal.
Rigid-fastening a solid wood top. Plywood is dimensionally stable. Solid wood isn’t. If you screw a solid top down tight all the way around, it will try to move with humidity and something will give — either the screws pull out of the apron, or the top cracks. Use clips.
Rushing the finish. Two thin coats look better than one thick coat that gets tacky and uneven. Sand between coats.
Legs that aren’t the same length. Even 1/16“ of difference makes the table rock. Cut all four at once by stacking them or ganging them with tape, not one at a time.
Want complete plans for thousands of projects?
This table is one plan — a solid one. If you want dimensioned drawings and cut lists for everything from furniture to outdoor builds in one place, our full TedsWoodworking review covers what the plan library includes and whether it’s worth it for the kind of work you’re doing.