How to Build a Sturdy Workbench
Every woodworker eventually builds a workbench. It's the piece that makes every other piece easier. This plan builds a simple, over-engineered bench that won't rack, won't wobble, and won't cost you a second mortgage.
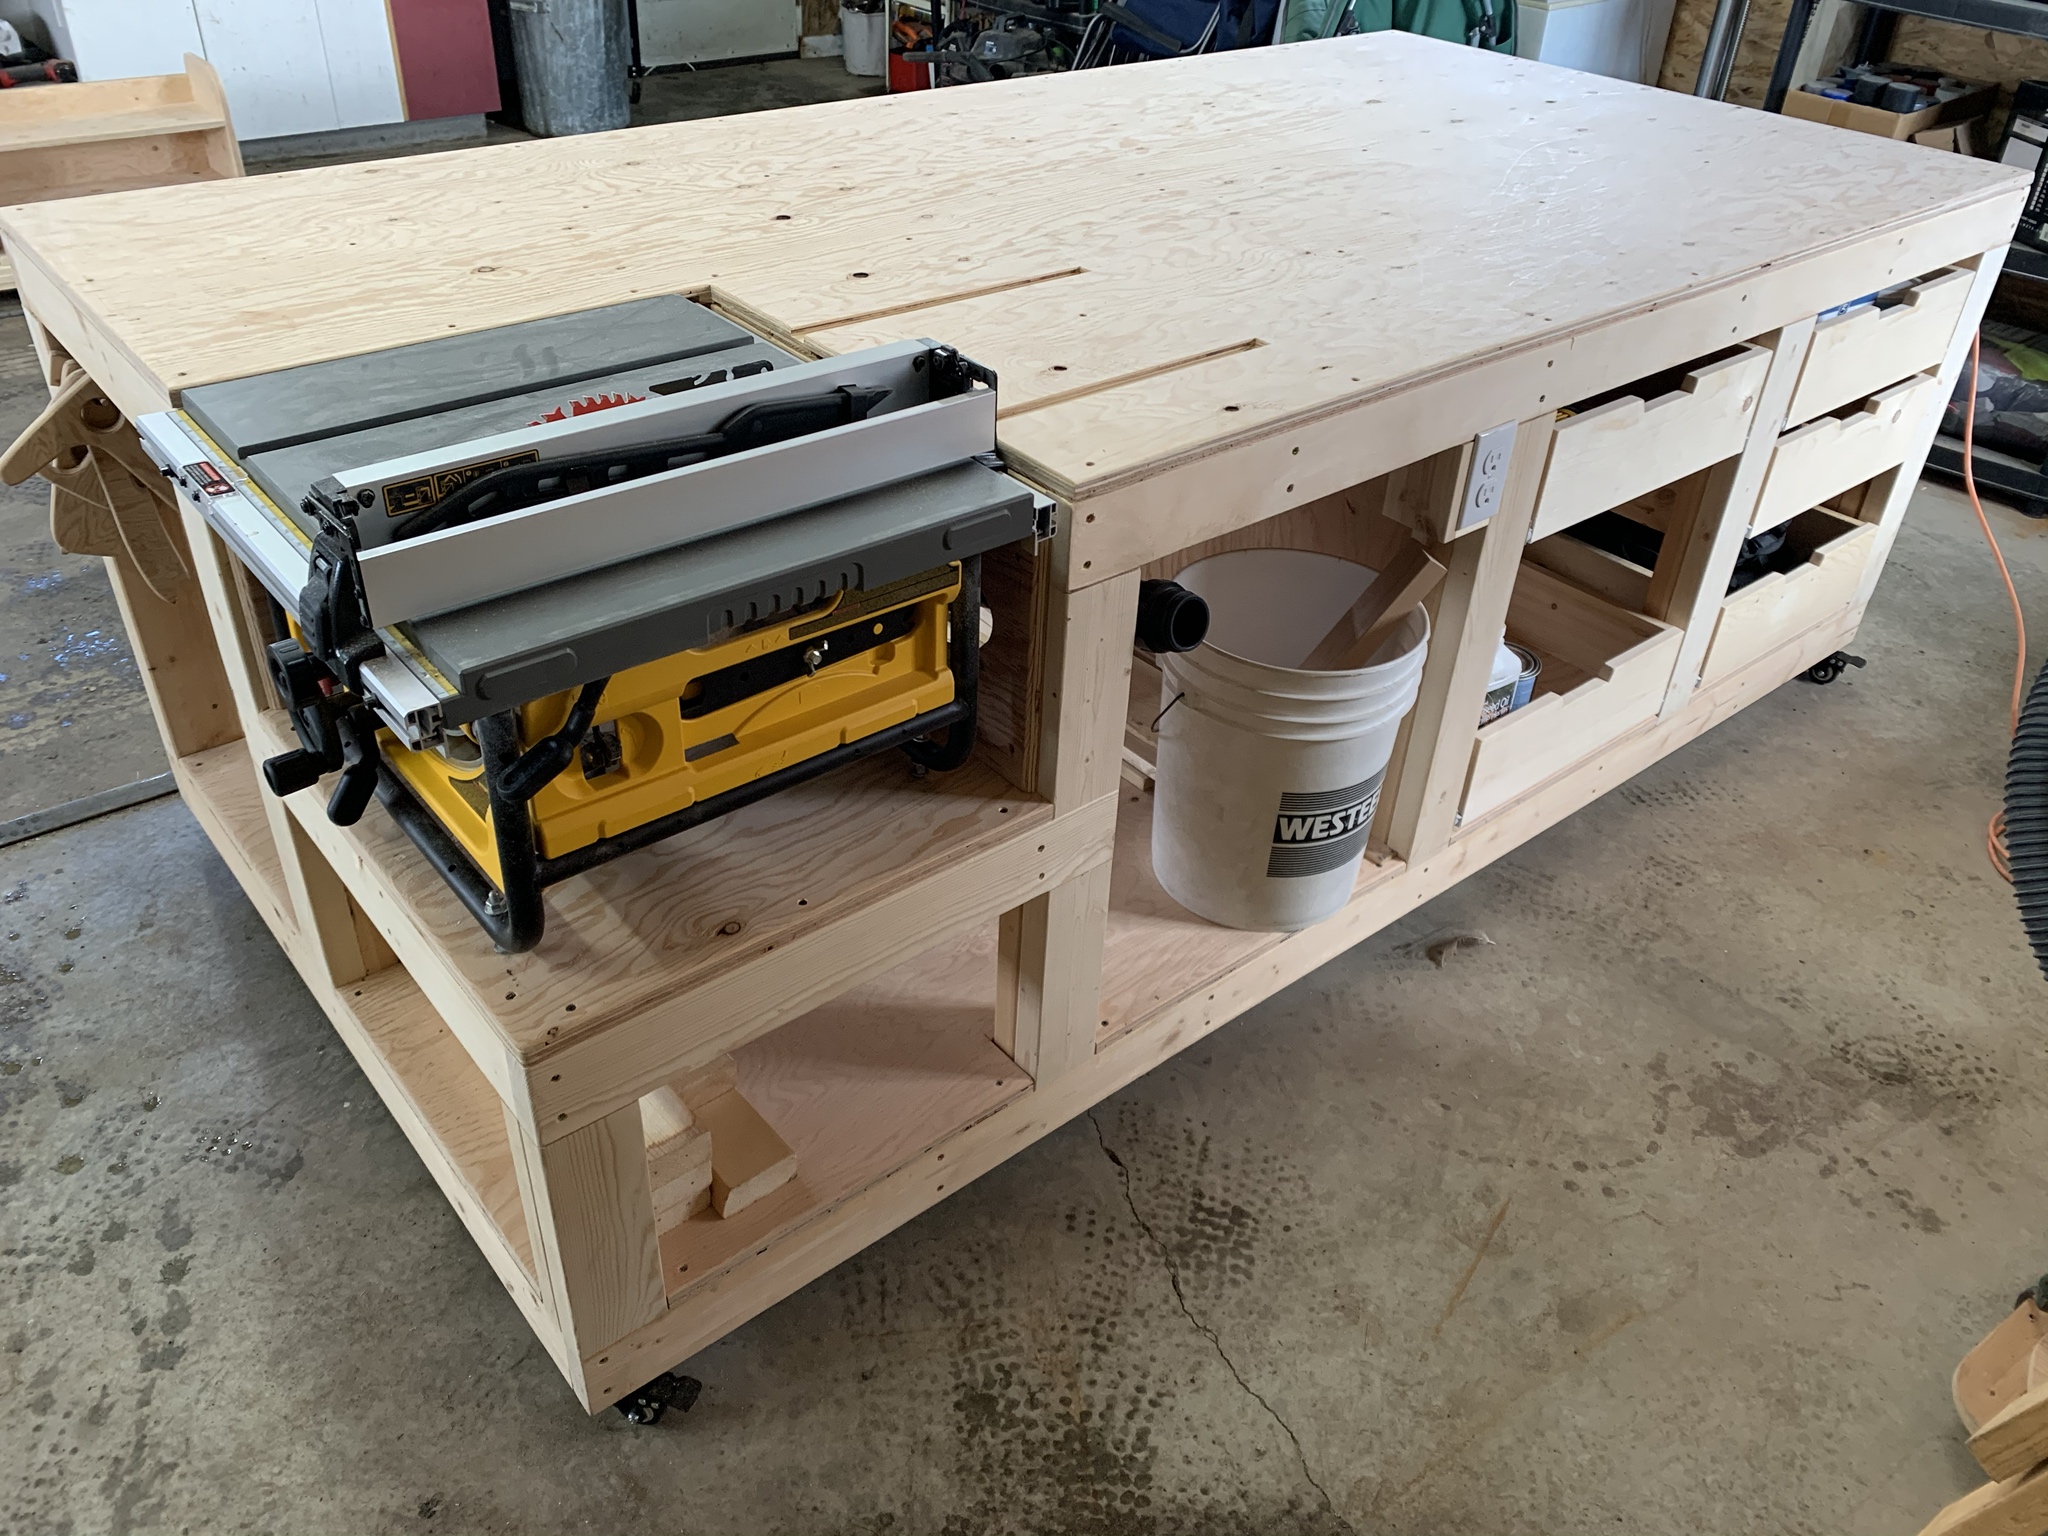
A workbench is the most important thing in your shop. A bad bench — one that racks when you plane, rocks when you chisel, or flexes when you clamp — fights you on every single project. A good one disappears. You stop thinking about the bench and start thinking about the work.
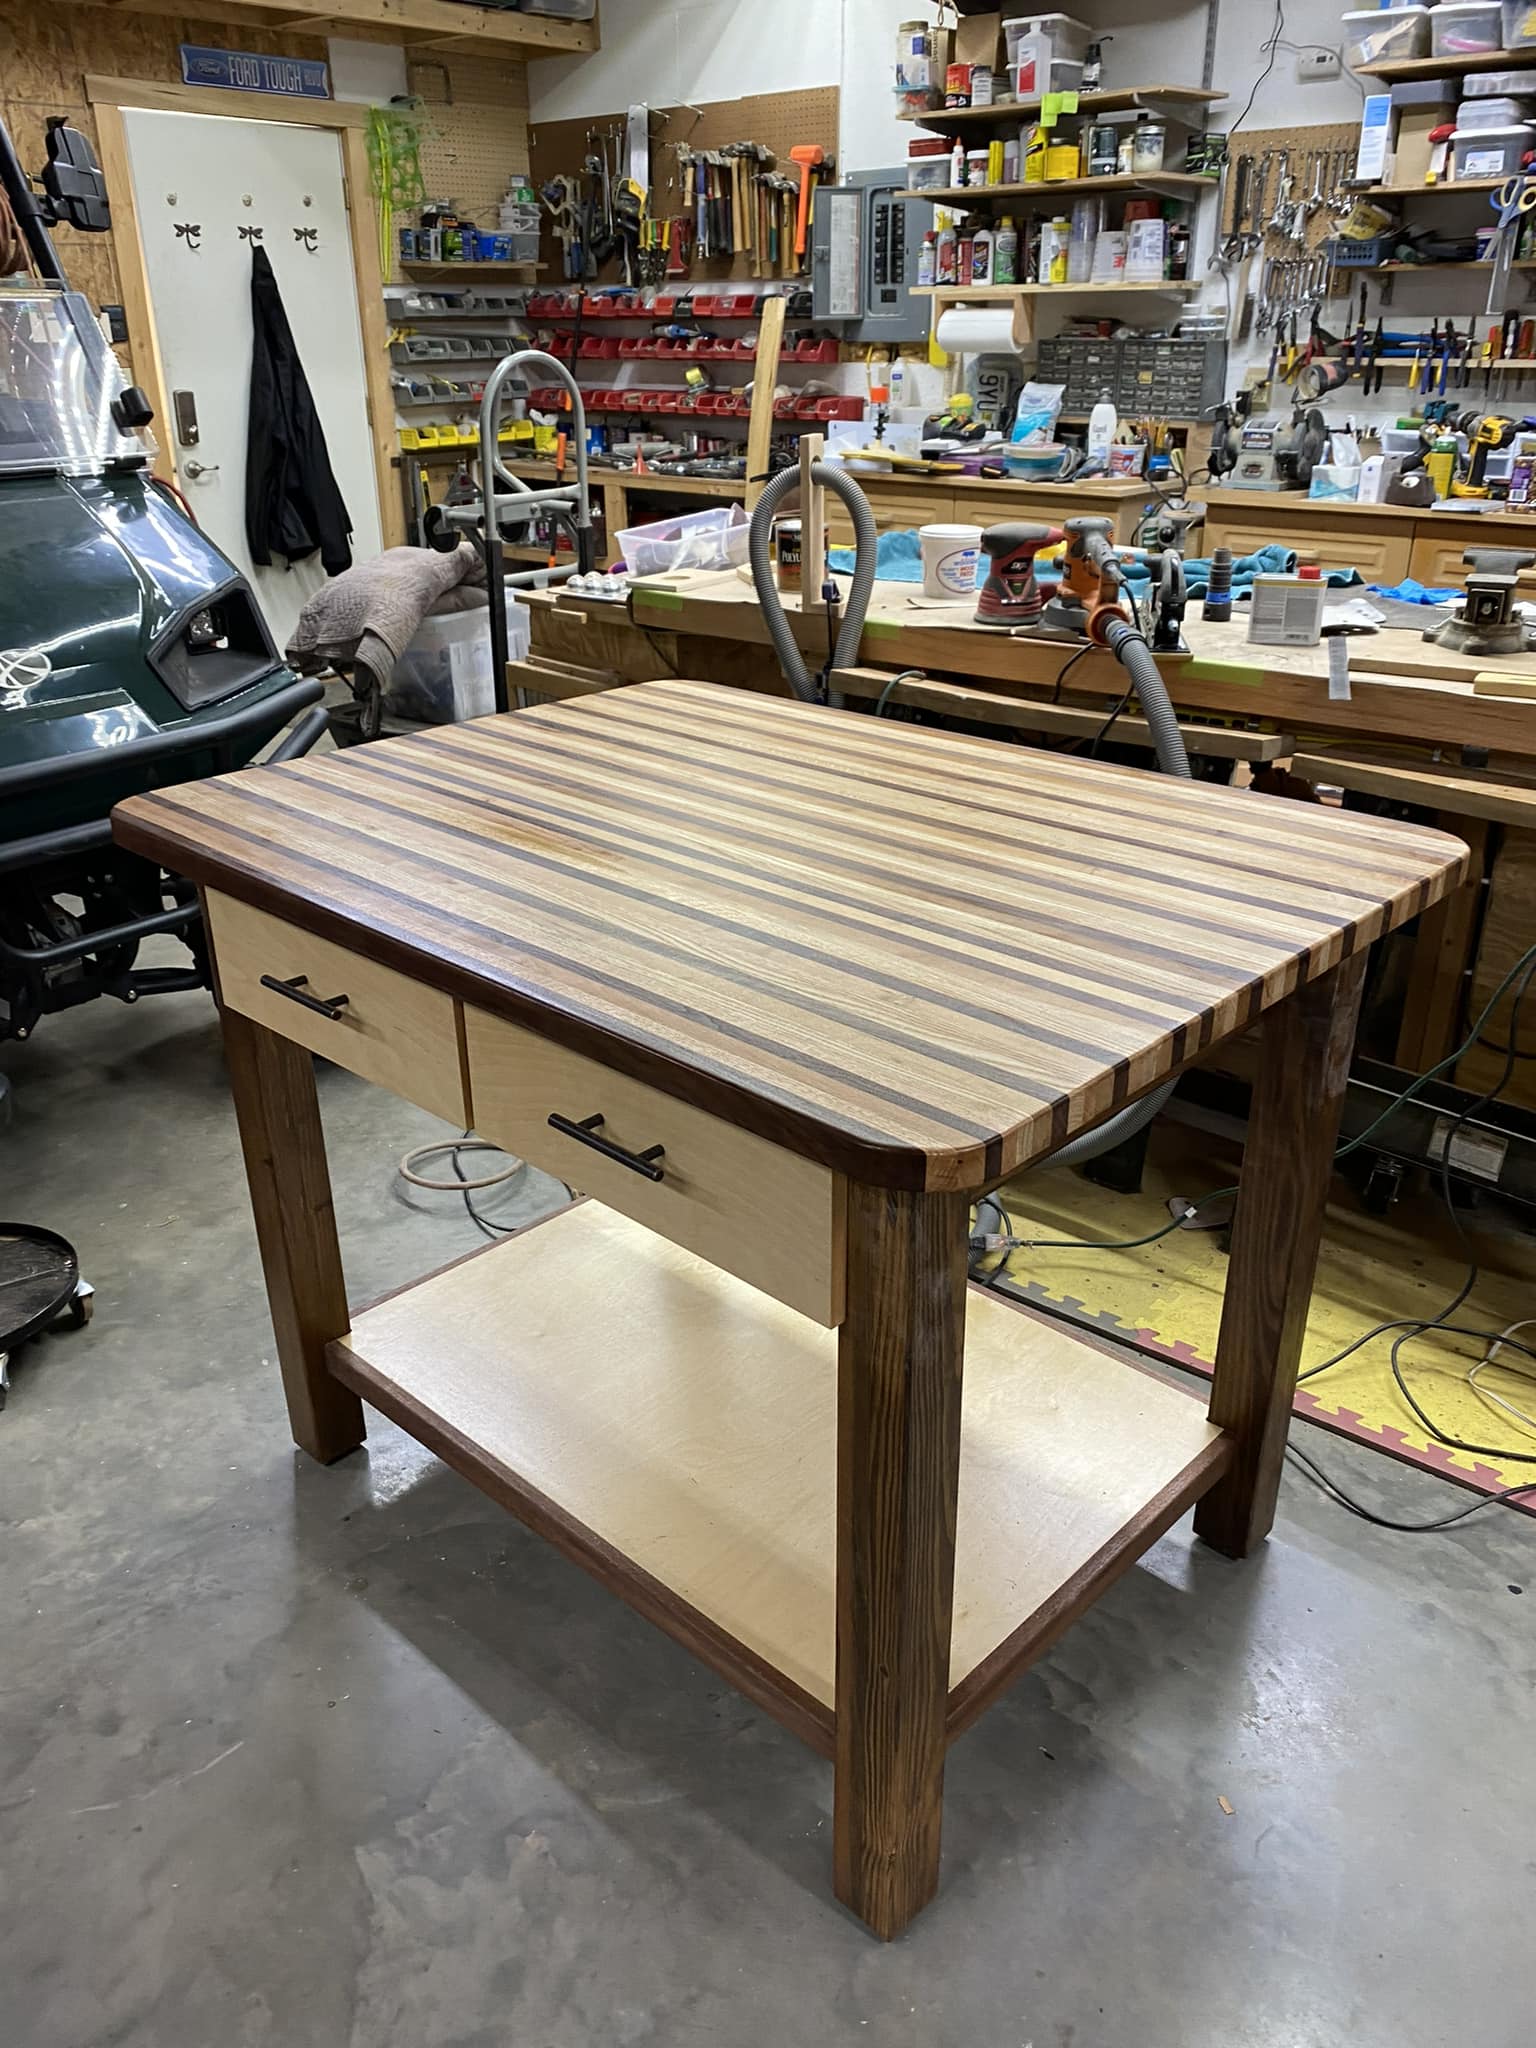
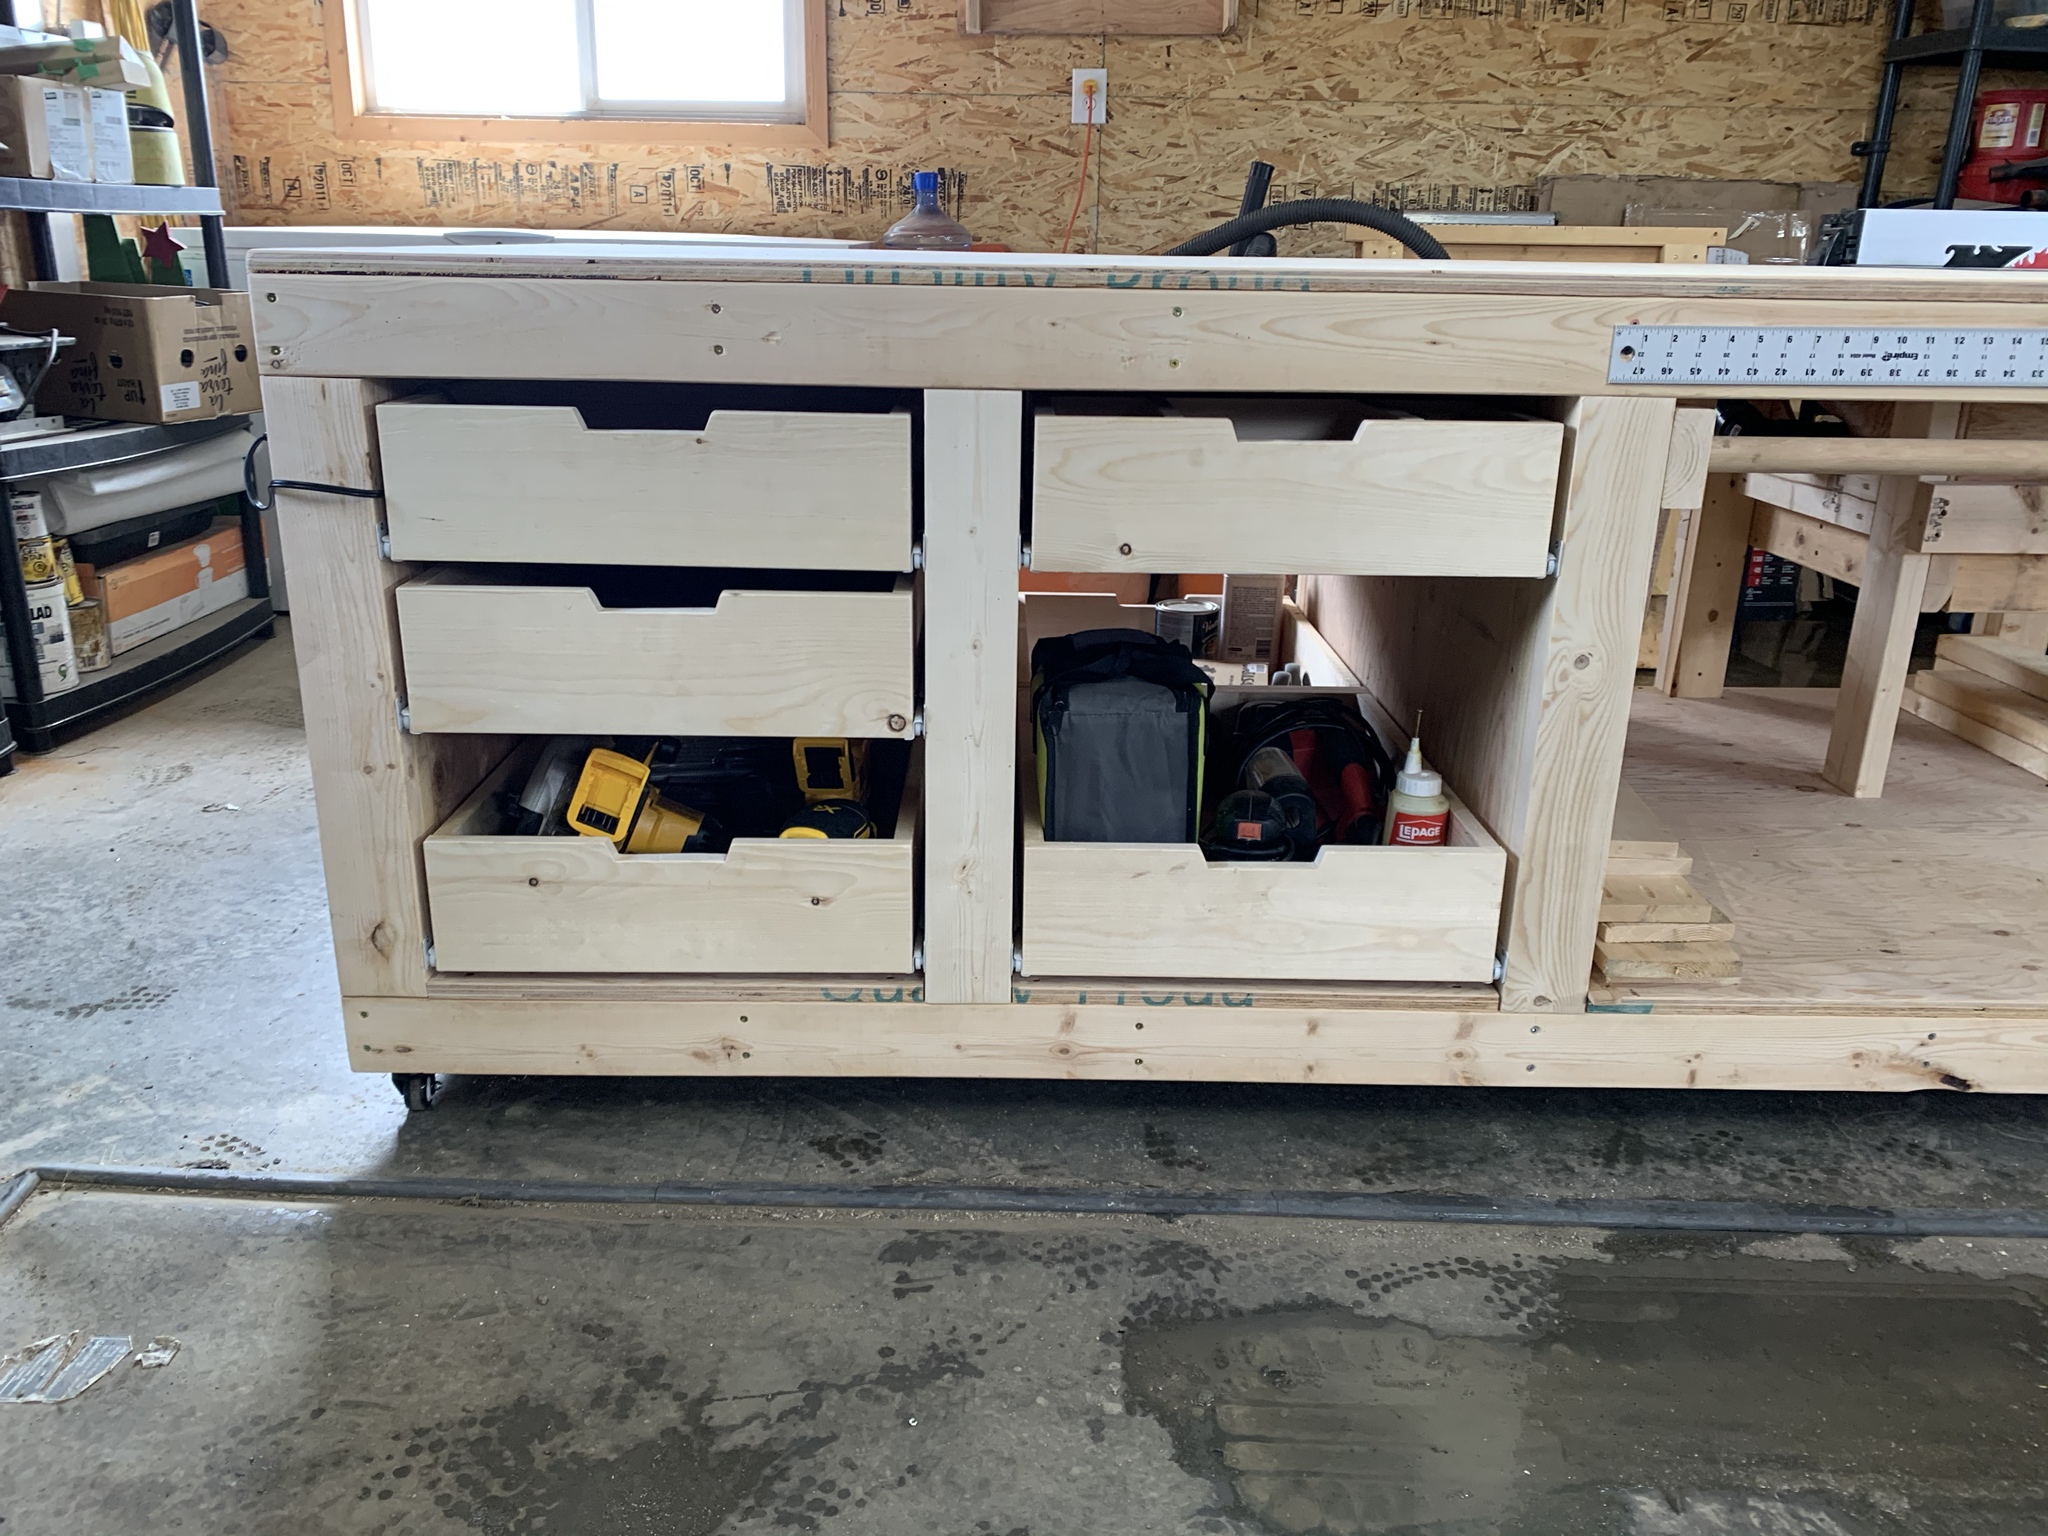
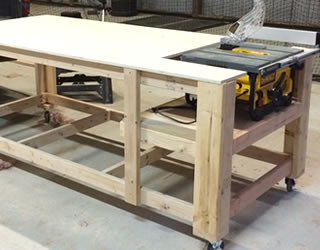
This plan builds a hardwood-topped bench roughly 60“ × 24“ × 34“ tall. Adjust the height to your elbow minus 4 inches for comfortable hand-tool work, or minus 2 inches if you’re mostly power tools. It’s a genuine weekend build — day one is cutting and base assembly, day two is the top and flattening.
What you’ll need
Tools:
- Miter saw (a circular saw works, but a miter saw makes the base go faster)
- Circular saw or track saw for ripping top boards to width
- Drill/driver
- 3/8“ and 1/2“ drill bits
- Clamps — a lot of them (8–12 if you have them)
- Hand plane or belt sander for flattening the top
- Tape measure, speed square, and winding sticks (two straight sticks for checking twist)
Before you start, make sure your tool kit is sorted. If you’re early in your setup, the woodworking tools for beginners guide covers what to prioritize before a build like this.
Materials:
- 4× 4×4 Douglas fir or construction lumber at 34“ — legs
- 4× 2×4 at 54“ — long stretchers
- 4× 2×4 at 19“ — short stretchers
- 2× 2×6 at 62“ — top rail (optional, strengthens the leg-to-top connection)
- Top lamination: 10–12× 2×4 at 62“, jointed edge to edge (or 1× hardwood if you want to go premium)
- 3/8“ lag screws, 3“ and 2.5“ construction screws
- Wood glue
- Sandpaper: 80, 120, 220 grit
The 2×4 laminated top is the classic workbench approach. It’s cheap, forgiving, and genuinely hard — construction 2×4s are often Doug fir or southern yellow pine, both tough enough for bench work.
The cut list
Want this worked out for you? Load this plan straight into the cut list calculator and it will tell you how many boards to buy.
| Part | Material | Size | Qty |
|---|---|---|---|
| Legs | 4×4 | 34“ | 4 |
| Long stretchers | 2×4 | 54“ | 4 (2 top, 2 bottom) |
| Short stretchers | 2×4 | 19“ | 4 (2 top, 2 bottom) |
| Top slabs | 2×4 | 62“ | 10–12 |
The top slabs get glued edge-to-edge to form a solid laminated top. Ten 2×4s give you a top about 15“ wide; twelve get you to 18“. Aim for 18–24“ depending on your space.
Step by step
1. Build the base frames. Start with the two short end frames: two legs plus a top and bottom stretcher each. Drill clearance holes and drive 3“ screws with glue at each joint. Check square before the glue grabs — an out-of-square end frame means a twisted bench.
2. Connect the frames. Stand both end frames up and join them with the long stretchers. Use clamps to pull everything flush at the corners, drill pilot holes, and fasten. At this point you should have a base that doesn’t rack. Test it by pushing on each corner — nothing should move. If it does, add a diagonal brace on the bottom shelf.
3. Check for level. Set the base on your shop floor and check all four legs with a level. Shim if needed now — it’s much harder to shim after the top is on. If the floor is badly uneven, cut the legs so the base is level rather than following the floor.
4. Glue up the top. Apply glue to the face of each 2×4 and clamp them together in batches. Six or eight boards per batch is manageable. Alternate clamps above and below to prevent the assembly from bowing. Let each batch cure before adding more boards.
5. Flatten the top. This is where the build goes from a pile of lumber to an actual bench. Use winding sticks across each end to spot any twist — if the sticks aren’t parallel when you sight across them, there’s twist. Knock down the high corners with a hand plane (a No. 5 or No. 7 works well) or with a belt sander. Work diagonally first, then with the grain to clean up. The top doesn’t need to be perfect — it needs to be flat enough that a piece of stock doesn’t rock on it.
6. Attach the top to the base. Drill pocket holes or counterbored holes through the top stretchers and drive 2.5“ screws up into the top. For a laminated top this thick, rigid fastening is fine — you’re not going to see seasonal movement the way you would with a single solid plank.
7. Sand and seal. Work through 80, 120, and 220 on the top surface. For a workbench, skip the fancy finish — a penetrating oil like boiled linseed oil (thin it slightly) hardened with a couple coats of wipe-on poly is plenty. You want protection, not a mirror surface that becomes a skating rink.
8. Add a vise (optional). A face vise on the left end is the most useful addition you can make. Quick-release vises mount with lag screws into the leg and a chop screwed to the screw. Add a thick wood jaw face to protect your work.
Mistakes to avoid
Making it too short. Most off-the-shelf workbenches are built for an average height that doesn’t fit anyone perfectly. Measure your standing elbow height and subtract 4“ for hand-tool work. Working hunched over a low bench will wear you out in an hour.
Not checking square on the base. A racked base is a racked bench. Compare diagonal measurements at each frame before the glue sets — they must be equal.
Skipping the flattening step. A bench top that looks flat isn’t necessarily flat. Two minutes with winding sticks will tell you the truth. An unflat bench makes every planing and assembly task harder indefinitely.
Using green or wet lumber. Construction 2×4s from a big-box store are sometimes still wet. If you glue them up wet, they’ll move as they dry and you’ll end up with a top that’s buckled or gapped. Stack them in your shop for a week before gluing if they feel heavy.
Want dimensioned plans you can print out?
A workbench is one of those builds where having a full set of drawings — every joint dimensioned, hardware listed — saves real time. Our TedsWoodworking review covers what a large plan library includes and whether it makes sense for a build like this or for the projects you want to tackle next.