How to Build a Pair of Sawhorses
Sawhorses are shop infrastructure. Build a pair before you need them, and almost every subsequent project gets easier — a stable work surface makes measuring, clamping, and finishing significantly less frustrating.
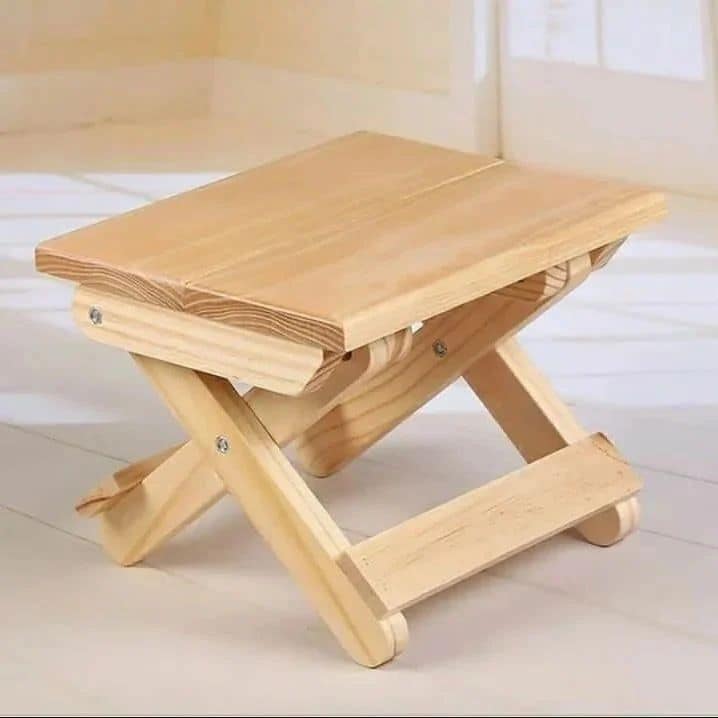
Sawhorses belong in every shop, and the plastic folding kind are a compromise you’ll eventually stop tolerating. They flex under load, the legs splay unpredictably, and the top rail is usually too narrow to be genuinely useful. A pair of wooden sawhorses built from 2×4s takes an afternoon and will outlast multiple sets of the folding alternative.
This plan builds two sawhorses at 28“ tall — a comfortable working height for most people when used for rough work, clamping, and finishing. If you want them lower for cutting work or higher for assembly, adjust the leg length.
What you’ll need
Tools:
- Miter saw (makes the angle cuts much easier) or circular saw with a bevel adjustment
- Drill/driver
- Tape measure and pencil
- Speed square
- Clamps (optional but helpful during assembly)
If you have a workbench already, building sawhorses is significantly easier — you have a flat reference surface for assembly. If you’re building the workbench and sawhorses at the same time, build the sawhorses first and use the floor, then use the sawhorses to build the bench.
Materials (per pair — 2 sawhorses):
- 5× 8-foot 2×4s (construction grade is fine)
- 3“ exterior screws or structural screws (40-50)
- Optional: 1.5“ screws for the gussets
That’s the whole material list. Sawhorses are one of those builds where cheap lumber is not a liability — knots and imperfections in a shop sawhorse are irrelevant.
The cut list (per sawhorse — build two sets)
| Part | Size | Qty | Notes |
|---|---|---|---|
| Top rail | 2×4 at 36“ | 1 | Crosscut square |
| Legs | 2×4 at 28“ | 4 | Ends cut at 15° bevel |
| End gussets | 2×4 at 12“ | 2 | Optional, adds rigidity |
The 15° leg bevel is the only angle cut in the whole build. It makes the legs splay outward for stability, and it sounds more intimidating than it is — set your miter saw or circular saw to 15° and cut both ends of each leg. The bottom cut is a compound angle (bevel + slight miter) if you want the feet to sit flat, but for a shop sawhorse, a simple 15° bevel on both ends is close enough.
Step by step
1. Cut all parts for both sawhorses before assembly. Batching the cuts is faster and ensures both horses end up the same height. Cut the top rails first (square crosscuts), then set your saw to 15° and cut all eight legs.
2. Mark the leg positions on the top rail. The legs splay outward — position them so the outside face of each leg is flush with the end of the top rail. Hold a leg in position and trace its outline on the top rail face to confirm placement before drilling.
3. Attach the first pair of legs to one end. Drive two or three 3“ screws through the top rail into each leg. Pre-drill pilot holes to avoid splitting — 2×4 ends split easily under a screw without one. Confirm the legs are splayed symmetrically (they should form a V when viewed from the end) before tightening.
4. Attach the second pair of legs. Repeat for the other end of the top rail. Check that all four legs touch a flat surface when you stand the sawhorse up — if one rocks, adjust before driving the screws home.
5. Add gussets (optional but recommended). Cut two short 2×4 blocks at 12“ and screw them between each pair of legs at the bottom, running parallel to the top rail. This prevents the legs from racking sideways under lateral load. On a light sawhorse for finishing work you can skip them; on a sawhorse that’s going to hold heavy sheet goods or be a workbench substitute, add the gussets.
6. Build the second sawhorse. Repeat the same process. Set the finished first sawhorse next to it as a reference — this makes it easy to confirm they’ll end up the same height.
7. Level check. Put both sawhorses on a flat floor. Place a long board or a level across both top rails and check for level. If one sawhorse is slightly short, a shim under one leg or a hand plane on the top rail fixes it. This matters more than it sounds — an unlevel pair makes every project sitting on them slightly harder.
Mistakes to avoid
Legs that aren’t consistent length. Cut all eight legs at the same saw setting in one session. Changing your setup between legs introduces variation, and a 1/4“ difference in leg length shows up immediately when you set the sawhorse down.
No pilot holes. End grain in 2×4s splits under a screw driven without a pilot hole, especially if the lumber is dry. Pre-drill every fastener location.
Top rail too short. 36“ is the minimum useful length for a shop sawhorse. Shorter and you spend time adjusting your workpiece to balance; longer (up to 48“) is almost always better. If you have extra 2×4 length, go longer.
Skipping the gussets on a heavy-use horse. Gussets are optional in the sense that the sawhorse stands without them. They’re not optional if you’re resting heavy lumber or sheet goods on it — the ungusseted version racks laterally under uneven load.
Want a full shop build sequence?
Sawhorses, then a workbench, then everything else — if you’re building out a shop, our full TedsWoodworking review covers a plan library that includes shop furniture, jigs, and storage alongside home and outdoor builds.