Setting Up a Woodworking Workshop on a Budget
A functional workshop doesn't require a dedicated building, a dust collector, or a $3,000 table saw. Most good beginner work happens in a single-car garage, a corner of a basement, or even a covered driveway, with a modest set of tools bought in the right order. The goal is to start building, not to finish setting up.
The most expensive workshop mistake isn’t buying the wrong tool — it’s buying a shop full of tools before you know what you actually build. Start with what lets you finish one project. Add from there.
Before you start buying, read our woodworking tools for beginners guide — it covers what to buy first and what to skip entirely. This guide is about the space and setup that surrounds those tools.
The space question
You need:
- A flat, level surface to work on. This is non-negotiable. Assembling furniture on an uneven floor means twisted frames.
- Enough room to move a full sheet of plywood. An 8 × 4 ft (2400 × 1200mm) sheet needs clearance on at least one side when you’re breaking it down.
- Access to power. A minimum of two circuits is useful — one for a saw, one for a dust extractor or vacuum.
- Some light. Natural light is great; a couple of overhead LED shop lights are cheap and eliminate shadows.
What you don’t need: a dedicated room, a perfectly insulated space, or 1,000 square feet. A single-car garage (roughly 10 × 20 ft) is workable. A half-car-width clear corner of a larger garage is workable with some adjustment for breaking down full sheets outside.
Damp and dust: if your space gets wet, protect tools. A cabinet or a lockable metal shelf keeps hand tools and power tools from corroding. Sheet goods warp fast in humidity fluctuations — if your garage heats and cools dramatically, store sheet stock flat and buy it project by project rather than stocking up.
The workbench
Your workbench is the most important piece of furniture in the shop. Everything is measured and assembled on it. A wobbly, uneven bench causes more problems than a missing machine.
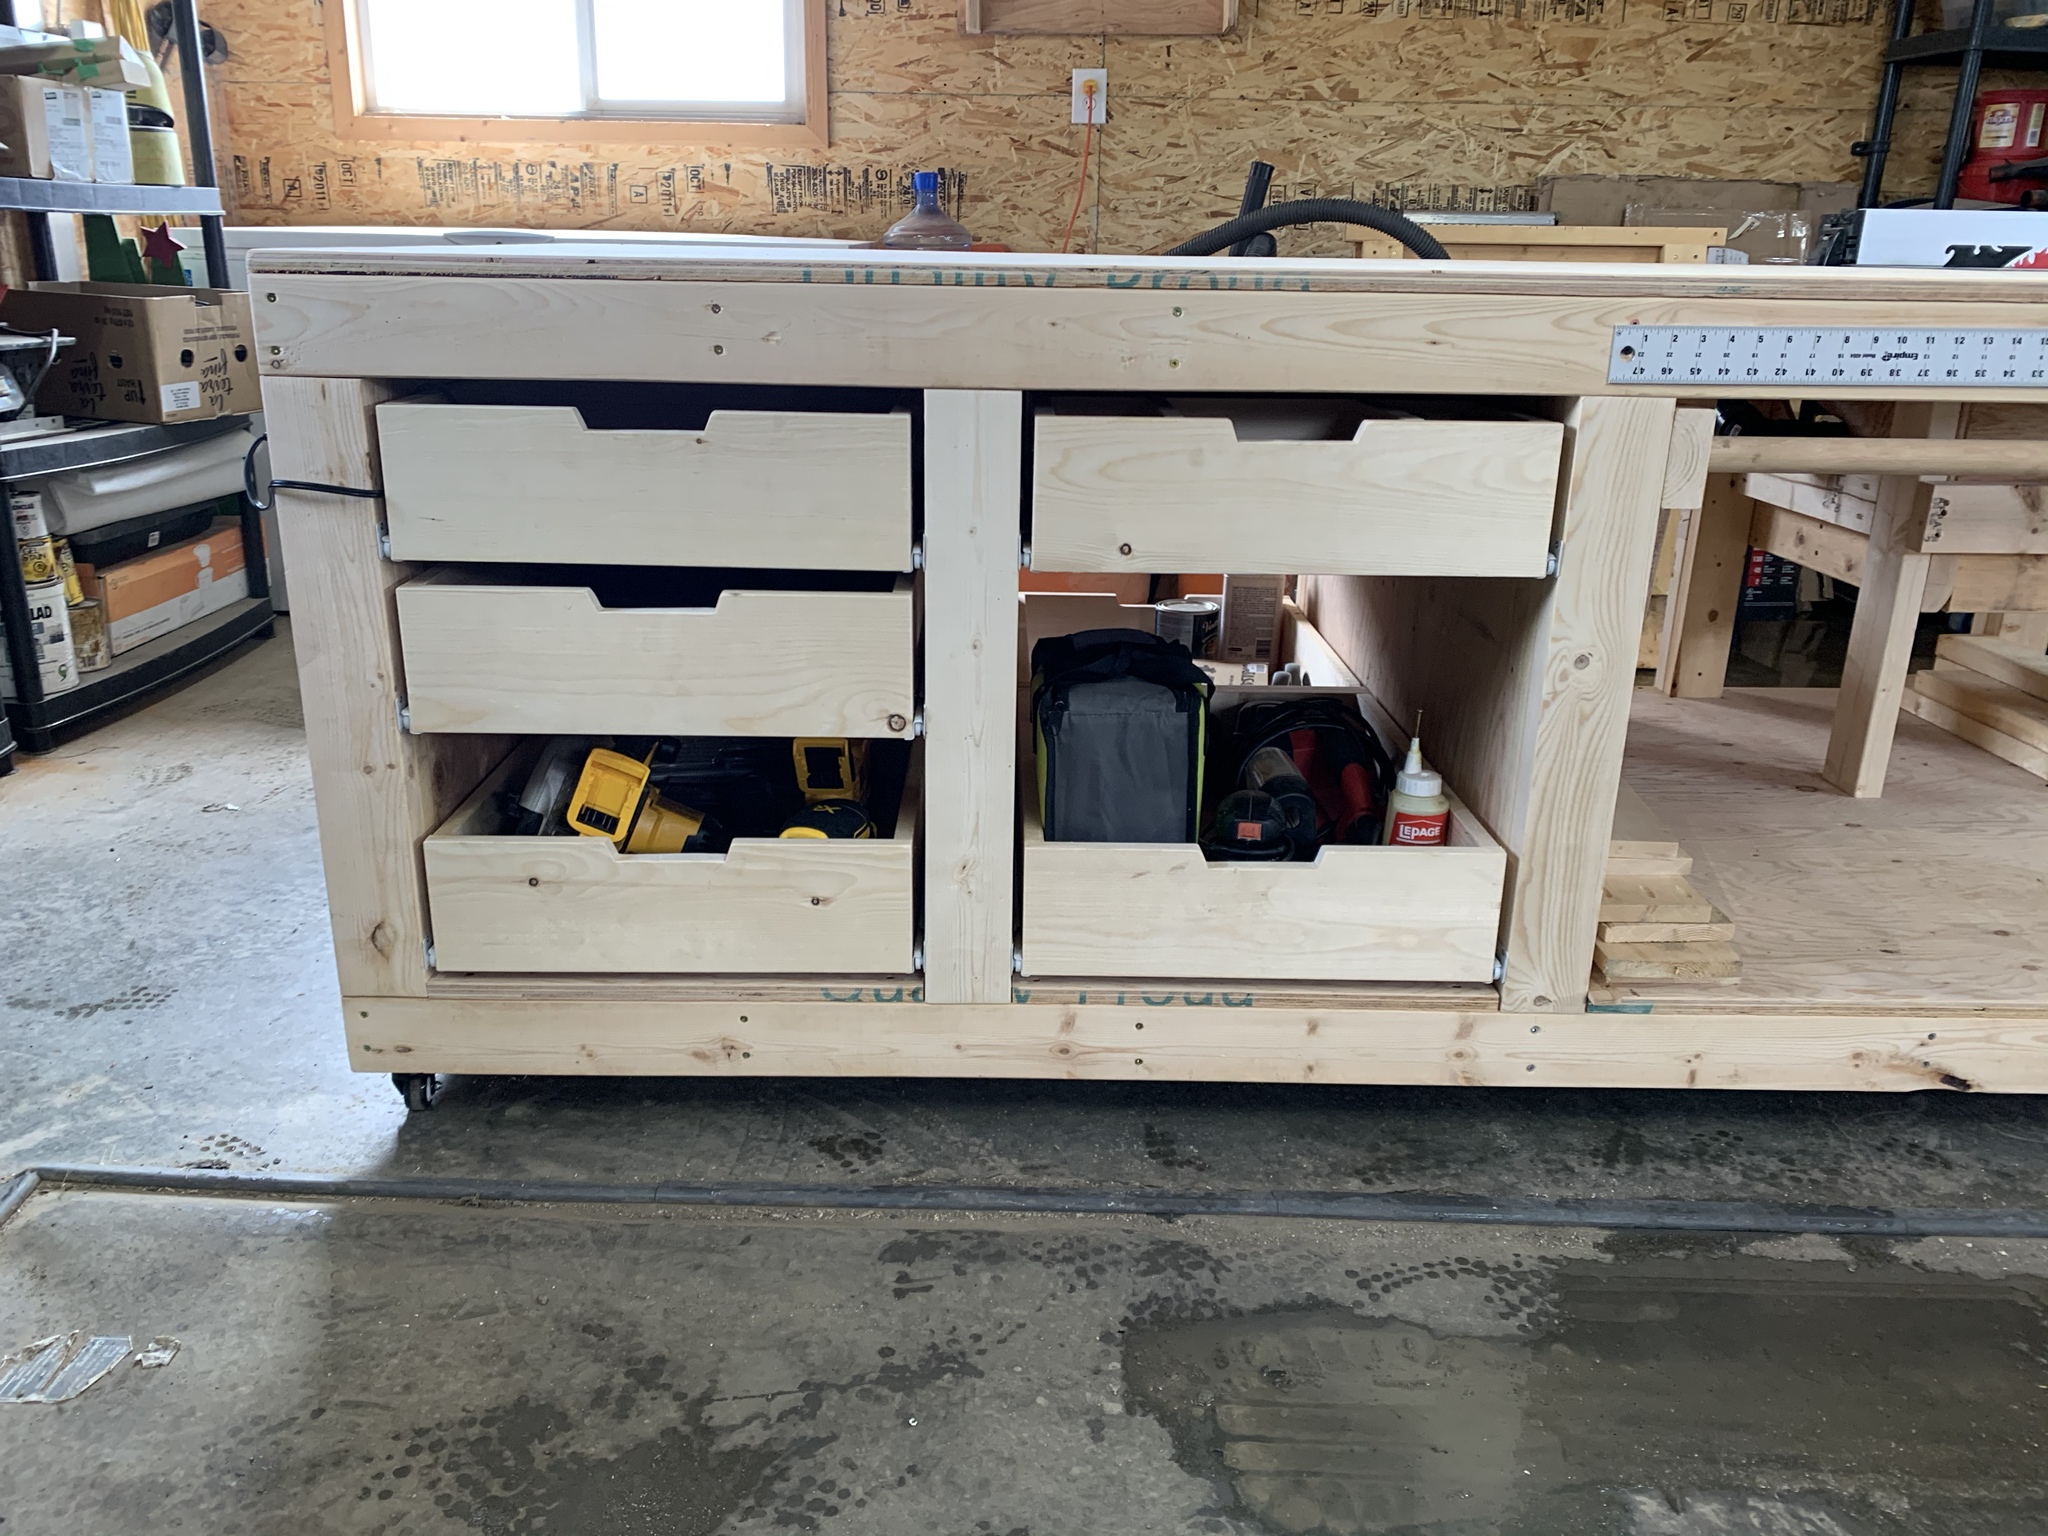
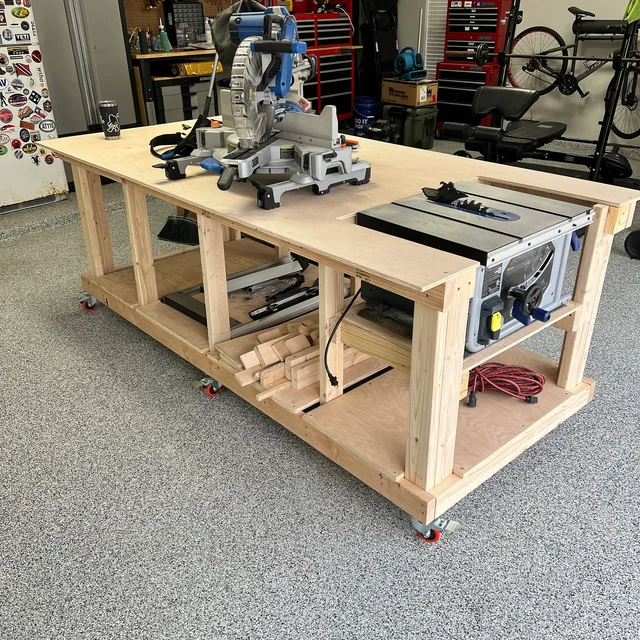
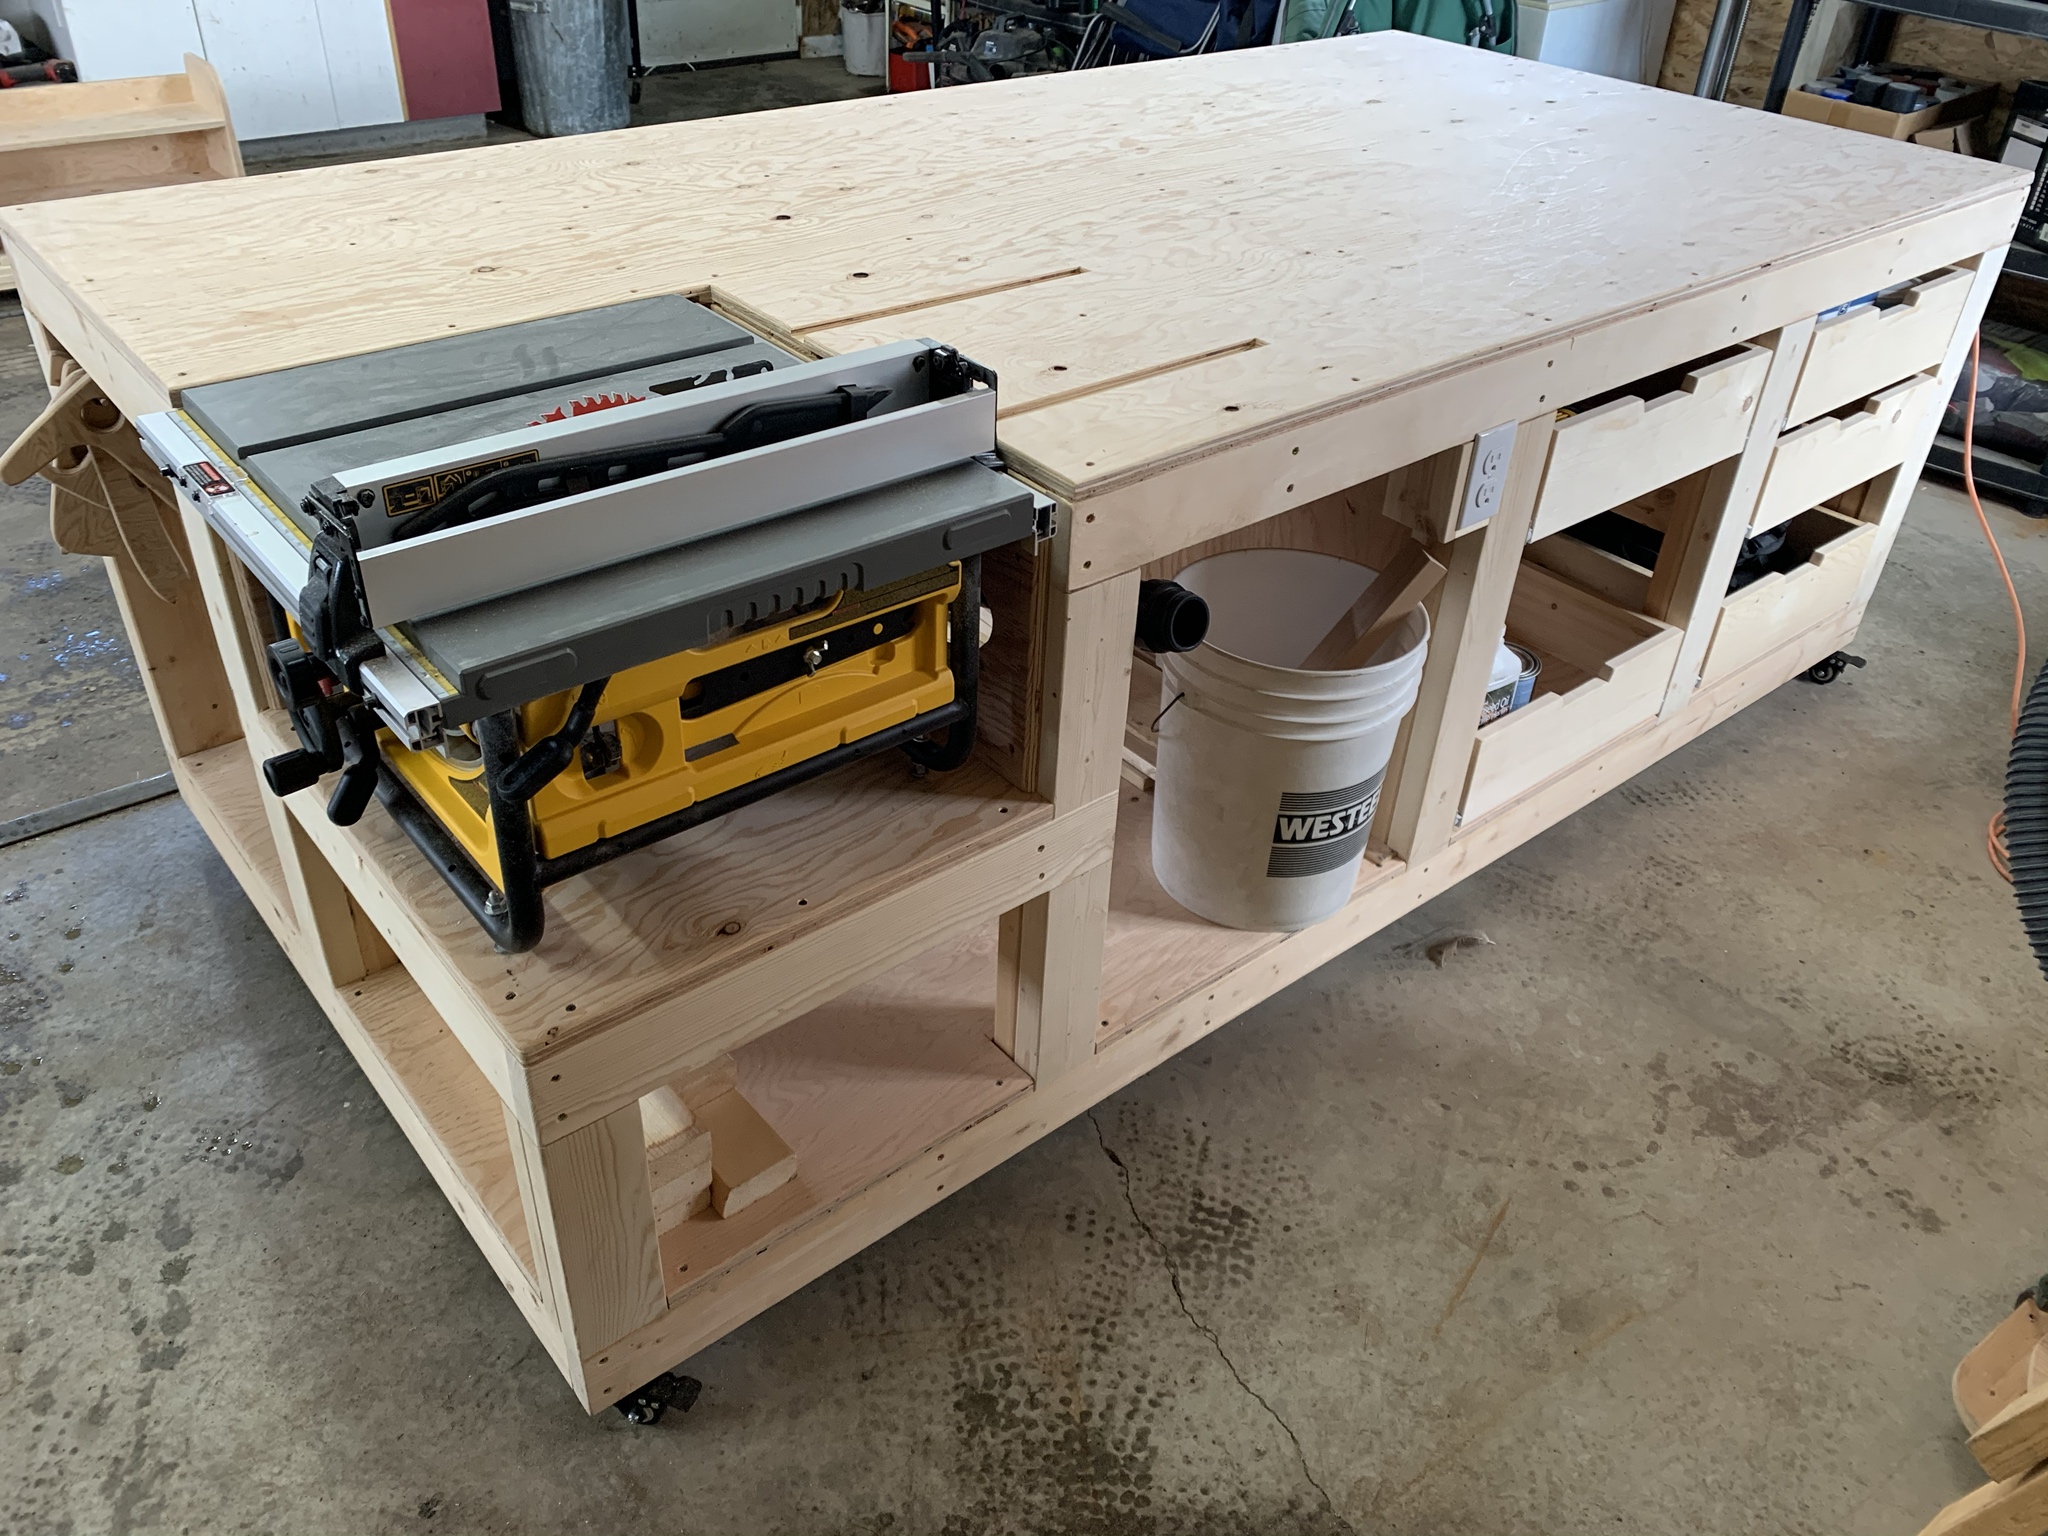
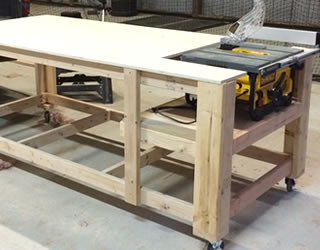
Build one before you buy one. A simple flat bench from construction lumber — 3½ × 1¾ in (90 × 45mm) framing timber and a ¾ in (19mm) MDF or plywood top — costs under $150 and will outlast most of the tools you put on it. It doesn’t need a vice on day one; a few clamps to the bench top work fine for most beginner tasks.
Height: elbow height minus 2 in (50mm) is the standard rule. Most people land around 34 to 36 in (850 to 900mm).
What to buy vs what to borrow or skip
Buy new (safety and accuracy depend on condition)
- Circular saw. Second-hand circular saws are a gamble — you don’t know the condition of the blade guard, the bevel pivot, or the shoe. Buy new here. A mid-range model from Milwaukee, DeWalt, or Makita runs $150–$250 and will last a decade.
- Cordless drill/driver. Used drills are fine if you can test them. If you can’t test, buy new — a battery that won’t hold charge makes the drill useless.
- Random-orbit sander. Cheap enough new ($40–$80) that second-hand isn’t worth the uncertainty.
Buy used (condition is obvious and fixable)
- Clamps. The single best thing to buy used. F-clamps, bar clamps, and pipe clamps show up at garage sales and estate sales constantly. The mechanism is simple and obvious — if it clamps, it works. Budget $5–$15 each at market; compare to $30–$60 new.
- Hand tools: squares, chisels, hand saws, mallets. Easy to assess, easy to sharpen or clean. A decent speed square in used condition is the same tool as a new one.
- Workbench or lumber. If you don’t want to build a bench, second-hand benches come up regularly. Reclaimed framing timber from a demolition is free or cheap.
- A shop vacuum. Dust management matters. A used shop vac in working condition is fine.
Skip for now
- Table saw. Useful eventually, expensive, space-hungry, and creates real safety complexity for beginners. A circular saw with a guide does most of the same work.
- Planer and jointer. Buying dimensioned timber from the hardware store sidesteps the need for both. Add these when you start working with rough-sawn or reclaimed stock regularly.
- Bandsaw, scroll saw, router table. All “would be nice” tools. None of them unlocks a project you genuinely can’t do otherwise in the beginner phase.
- Dust collection system. A shop vac connected to your sander handles beginner volumes fine. A dedicated dust collector is a Year 2 or Year 3 purchase.
A sensible spending order
| Priority | Item | Approx. cost (new) | Notes |
|---|---|---|---|
| 1 | Circular saw | $150–$250 | Corded or cordless; cordless is more convenient |
| 2 | Cordless drill/driver (with 2 batteries) | $150–$250 | Two batteries matter more than brand |
| 3 | Workbench (built) | $100–$150 | Materials only; build it first |
| 4 | Clamps ×4–6 | $40–$80 (used) | More clamps, always |
| 5 | Speed square + tape measure | $30–$50 | Accurate marking is half the work |
| 6 | Random-orbit sander | $40–$80 | Non-negotiable for finishing quality |
| 7 | Shop vacuum | $60–$100 (used) | Dust management from day one |
| 8 | Hearing + eye protection | $20–$40 | Every session, every time |
Total to get started: $600–$1,000, assuming you build the workbench and buy clamps used. If you pick up more used tools well, the real number can be lower.
Lighting and power
Two things that cost almost nothing to fix and make a large difference to the quality of work:
Lighting: a dark corner of a garage is genuinely dangerous. Two 60W equivalent LED shop light bars (around $30–$50 each at a hardware store) hung from ceiling joists transform the space. Raking light across a workpiece shows surface issues; flat overhead light hides them.
Power: know your circuits. Running a circular saw and a dust extractor on the same circuit will trip it. If you only have one outlet near the work area, a short heavy-duty extension to a second circuit is cheap insurance. Don’t daisy-chain power boards for power tools.
Noise, neighbours, and hours
This is a real constraint that doesn’t get mentioned enough. If you’re in a suburban area with close neighbours, power tools at 7am on a Saturday will generate complaints. Most residential areas have noise ordinances from around 7am to 10pm on weekdays and 9am on weekends — check yours.
Hand tools are quiet. A hand plane, a sharp chisel, and a mallet can produce real work without bothering anyone. Some builders do layout and hand-tool work early in the morning, then run machines during acceptable hours. It’s a genuine strategy, not just politeness.
The habit that matters most
Set the shop up to take five minutes to start. If you need to clear a car out, move three boxes, find extension cords, and locate your drill before you can cut a single piece of wood, you won’t use the shop as often as you think. Friction kills habits.
Design the space so you can walk in and be cutting in five minutes. Tools on a rack or in a drawer, not buried in a box. The bench is clear. The saw is where you put it last time. Small shop habits built early pay compound interest for years.
A note on plans
The other thing that kills workshop momentum is a bad plan — one that leaves you guessing at dimensions, joint locations, or material quantities. A complete plan with a real cut list tells you exactly what to build and in what order. If your current plans are thin on detail, our review of plan libraries covers what a well-documented plan looks like and whether a larger collection is worth the cost.