How to Build an Adirondack Chair
An Adirondack chair is one of those builds that looks complicated and isn't. Most of the angles are the same cut repeated across a lot of pieces. Get the template right once and the rest goes quickly.
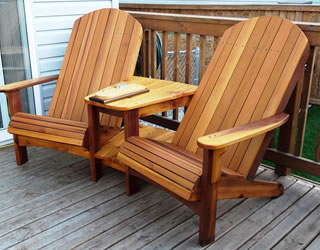
The Adirondack chair is the classic American outdoor chair — wide arms, reclined back, slat seat. It was designed in 1903 and barely changed since, which tells you something. This version uses western red cedar because it’s naturally rot-resistant and light enough that you’ll actually move the chair. Pine with a good exterior finish works too and cuts the material cost.
This is an intermediate build because of the angle cuts involved — legs and back are not plumb, they’re raked, and getting that geometry consistent across multiple pieces is where beginners can lose the plot. Go slow on the templates, and the rest is just repetition.
What you’ll need
Tools:
- Miter saw (important here — lots of angled crosscuts)
- Jigsaw (for the curved seat front and back slats)
- Drill/driver
- Countersink bit
- Clamps (6–8)
- Tape measure, speed square, protractor or angle finder
- Sandpaper: 80, 120, 220 grit
Materials (for one chair):
- Western red cedar or pressure-treated pine 1× 4, 1× 6 — see cut list
- 1.5“ and 2.5“ exterior wood screws (stainless or coated — don’t use zinc outdoors with cedar; tannin reacts and stains)
- Exterior wood glue
- Exterior finish: exterior oil, deck paint, or leave cedar raw and let it gray naturally
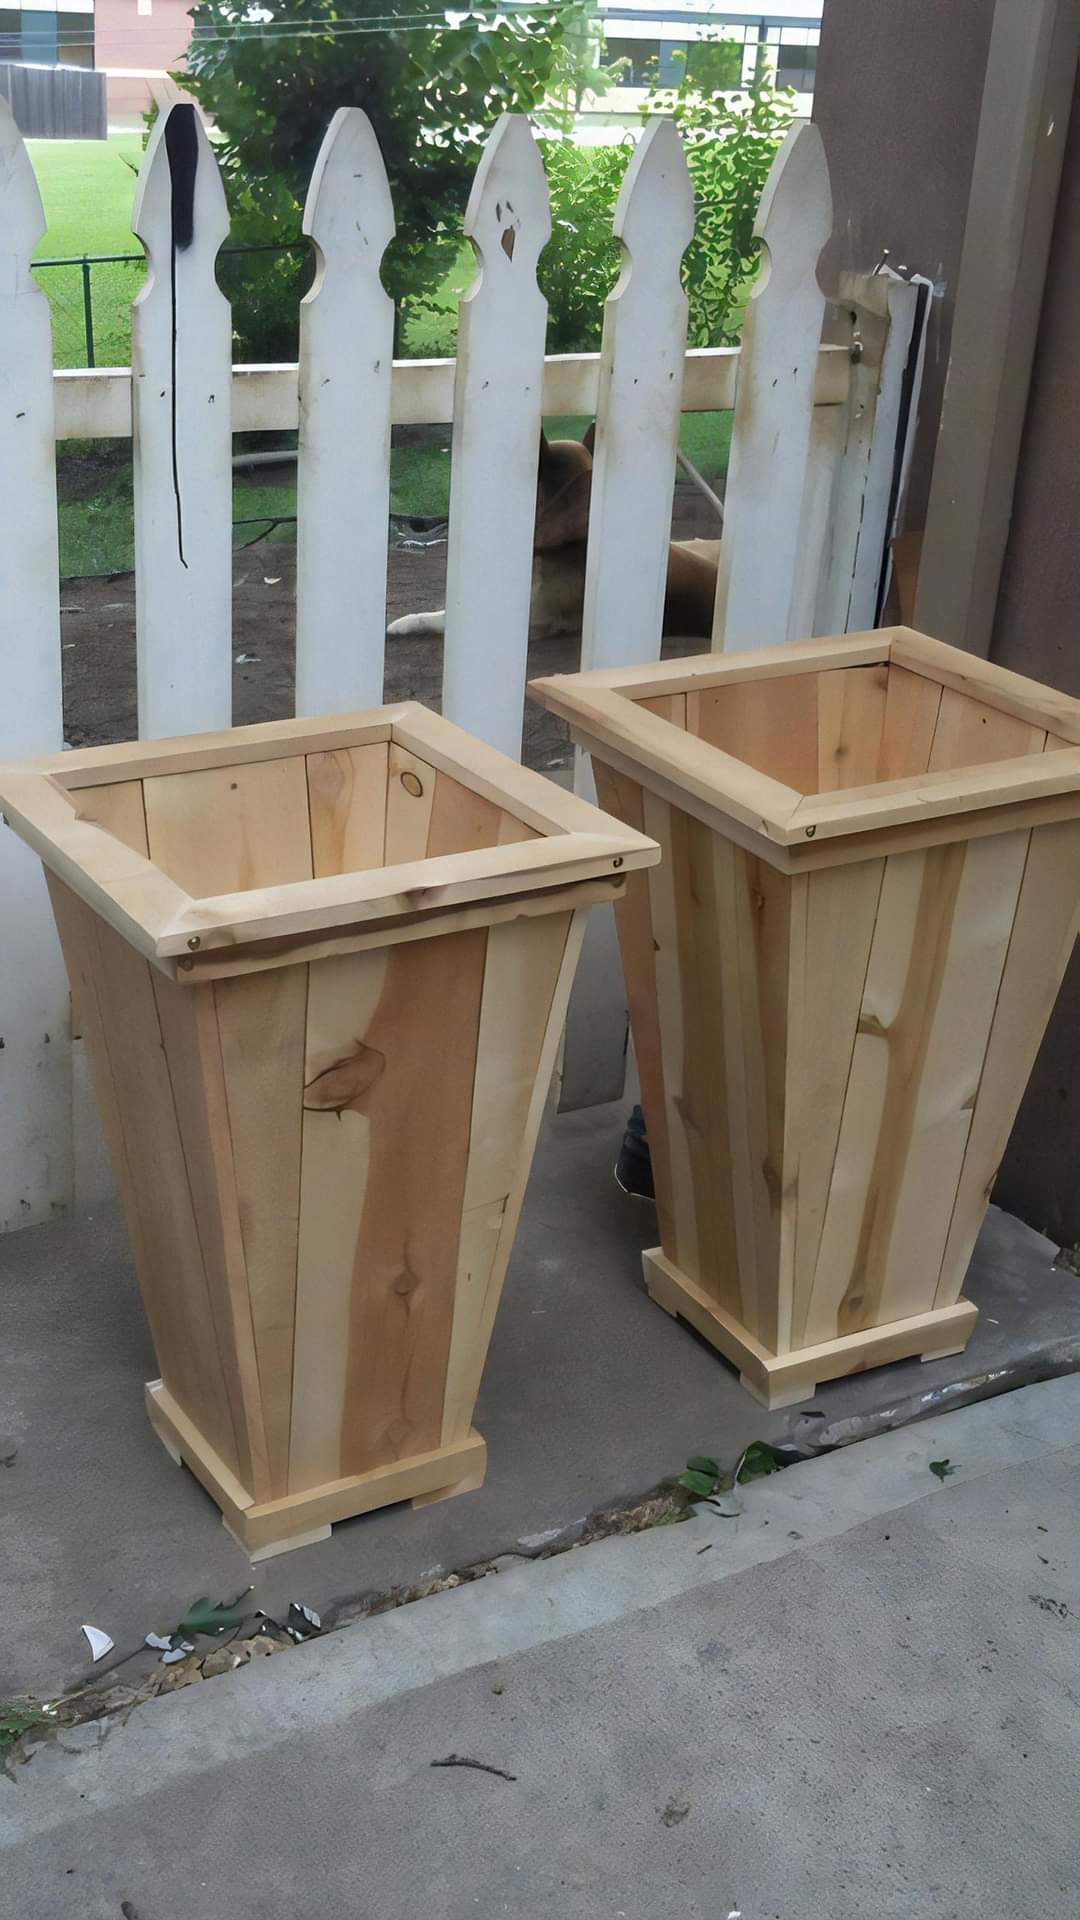
If you’re planning a matching pair of chairs or adding an outdoor table, the outdoor planter box uses the same cedar and similar joinery — good to batch the material run.
The cut list
| Part | Material | Size | Qty | Notes |
|---|---|---|---|---|
| Back legs | 1×6 | 36“ | 2 | Cut bottom at 22° so leg rakes back |
| Front legs | 1×4 | 21“ | 2 | Plumb, straight cut |
| Seat slats | 1×4 | 21“ | 5 | Front slightly curved — use a template |
| Seat support | 1×4 | 20“ | 2 | Attaches front and back legs |
| Arm supports | 1×4 | 10“ | 2 | Cut front at 45° |
| Arms | 1×6 | 28“ | 2 | Front end shaped to a point or curve |
| Back slats | 1×4 | 36“ | 5 | Narrow ones each side, wider center |
| Back support rail | 1×4 | 20“ | 2 | Top and bottom of the back |
These are cut-to-length dimensions. The angled cuts are called out in the steps below. Make a cardboard template for the back leg before cutting cedar — it’s the most complex piece.
Step by step
1. Make a back leg template. The back leg is the trickiest part. It leans backward at roughly 22°, has a notch near the bottom where the front leg meets it, and a curved top where the back support attaches. Draw it on cardboard first, cut it, sit it on the floor to check the rake, then use it to mark both cedar pieces. Cut with a jigsaw.
2. Cut the front legs. Straight cuts at 21“. These are the simplest piece in the build. Cut them now and set them aside.
3. Build the seat box. Attach the seat supports between the back legs and front legs to form a basic rectangular frame. The back of the frame sits lower than the front because of the back leg rake — this is what gives the chair its reclined feel. Pre-drill and countersink every hole, then drive exterior screws. Clamp and check square before the glue grabs.
4. Lay the seat slats. Starting from the back, fasten the seat slats across the frame with a consistent gap between each (about 3/16“ — a common nail makes a good spacer). The front slat gets a shallow curve jigsawed on its front edge. This rounds the front of the seat and makes long sitting more comfortable. Pre-drill every hole to prevent splitting.
5. Build the back. Attach the two back support rails to the back legs. The bottom rail sits low, at about seat height; the top rail sits near the top of the back legs. The back slats span between them — five slats with the widest in the center. Cut the tops of the back slats at a slight angle so they follow the arc of the chair back (roughly 8°). Space them evenly.
6. Attach the arm supports. The arm supports are short angled blocks that connect the front legs to the arms. The front face is cut at 45°. Fasten them to the front legs, flush with the top.
7. Shape and attach the arms. The arms are wide — 1×6 stock. The front end can be cut to a point (classic Adirondack look) or rounded with a jigsaw. Hold the arm in position — it should rest on the arm support at the front and on the back leg at the rear, roughly level — mark, drill, and fasten. The arm connection to the back leg is one of the most used joints in the chair; use two screws and glue here.
8. Sand and finish. Knock down all edges — sharp edges on an outdoor chair catch moisture and split faster than eased ones. Sand through 80, 120, and 220. For cedar left natural: no finish needed, but one coat of exterior oil makes the color last longer before it goes gray. For painted cedar or pine: prime with an exterior primer, two top coats minimum.
Mistakes to avoid
Not making a template. Freehand cutting the back legs without a template means two legs that don’t match, and a chair that looks off. Ten minutes on cardboard saves an hour of frustration.
Using zinc screws with cedar. Zinc (standard hardware store screws) reacts with cedar’s tannins and leaves black streaks that bleed through any finish. Use stainless or coated exterior screws.
Skipping the pre-drill. Cedar splits easily, especially near ends. Every hole needs a pilot hole. Worth the extra 30 seconds.
Getting the arm height wrong. The arm should be comfortable when you’re sitting in the chair — roughly 7–8“ above the seat surface at the rear. Too high and it feels like armrests from an airplane; too low and it’s useless. Sit in a comfortable chair and measure before you fasten.
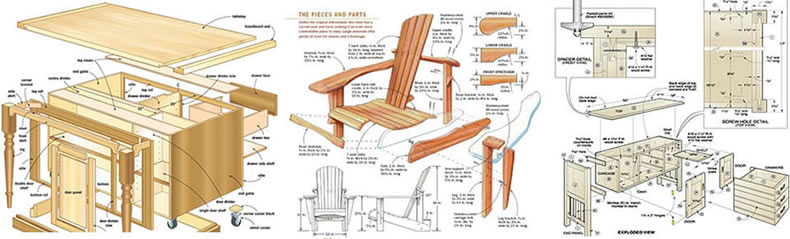
Want a full set of drawings for this build?
Adirondack chairs have a lot of pieces and a couple of non-obvious angles. If you want dimensioned plans you can print at full scale and work directly from, our TedsWoodworking review covers what the plan library looks like and who gets the most out of it.