How to Build a Dog House (Weatherproof Plan)
A dog house is a great beginner outdoor build. The geometry is simple, the tolerances are forgiving, and you end up with something your dog will use for years. The key is getting the weatherproofing right — a leaky house is worse than no house.
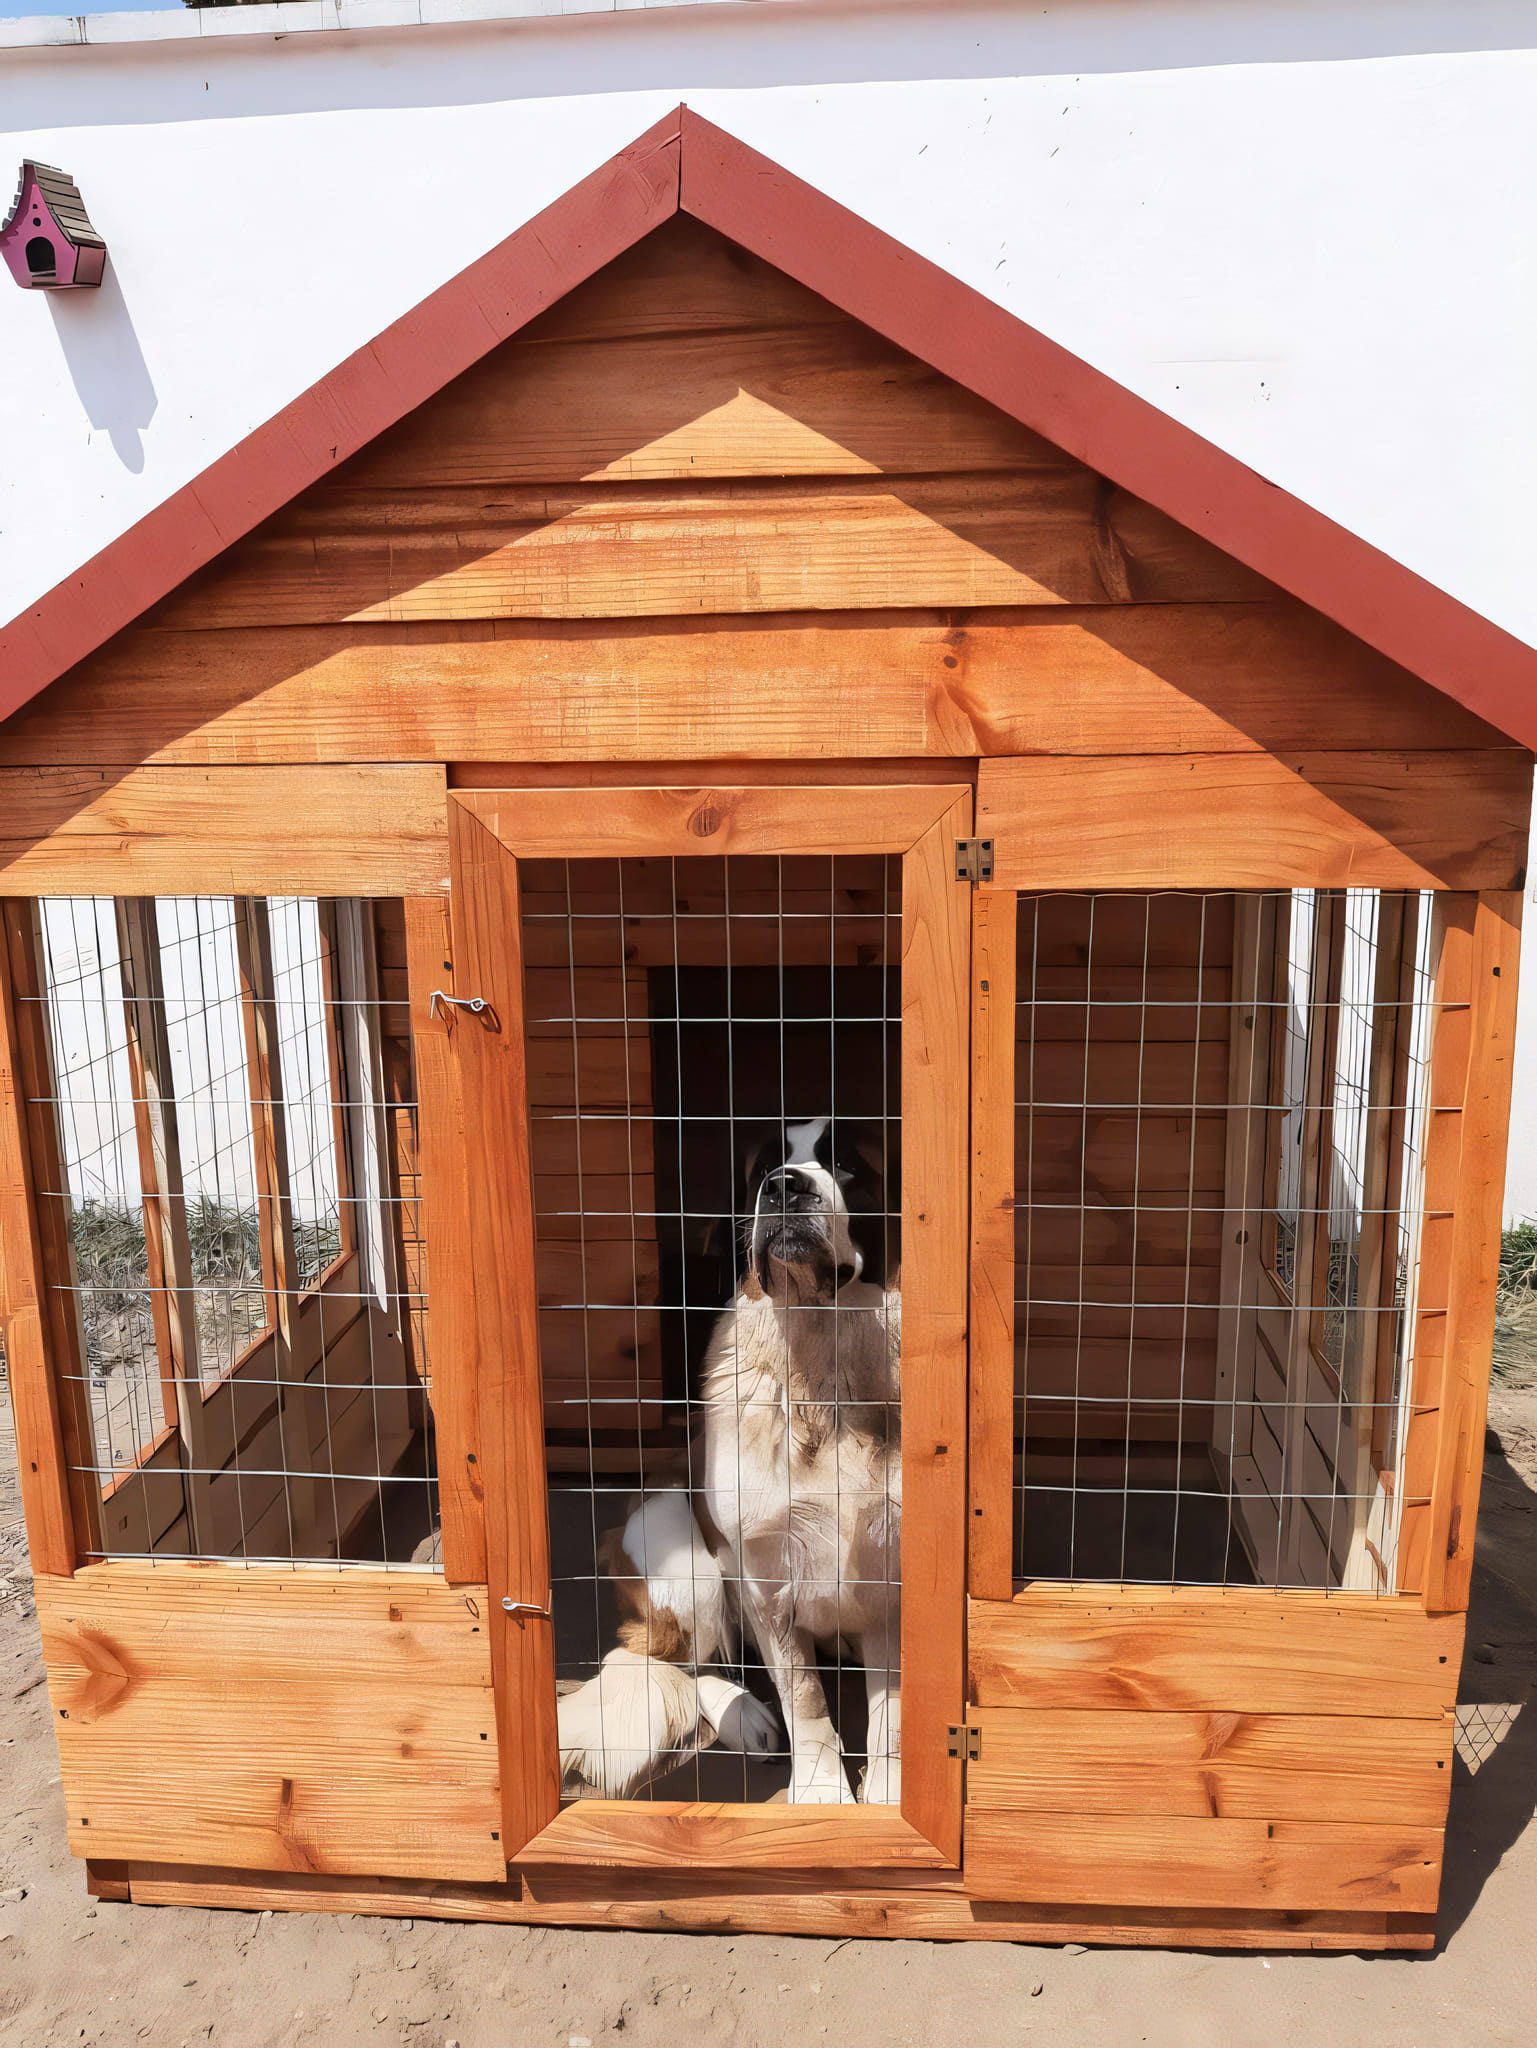
Most dog houses you can buy are thin-walled, poorly sealed, and fall apart after a season. Building your own costs about the same or less, lasts much longer, and lets you size it properly for your dog. The build here is a classic gabled-roof house — four walls, a floor, a peaked roof — using pressure-treated lumber for the base and exterior-grade plywood for the walls and roof.
This plan is sized for a medium dog (50–80 lbs). The interior is roughly 30“ wide × 36“ deep × 28“ tall at the peak. Scale it up by 20% for large breeds. The door opening should be about 1“ taller and wider than your dog’s shoulder height, not so large that it loses all heat in winter.
What you’ll need
Tools:
- Circular saw
- Jigsaw (for the door opening and gable peaks)
- Drill/driver
- Tape measure, speed square, and pencil
- Caulk gun
- Staple gun (for roofing felt)
If this is your first outdoor project, the skills here overlap with the farmhouse bench — both use basic joinery with screws and glue. The dog house adds roofing and weatherproofing, which is new territory but straightforward.
Materials:
- 2× pressure-treated 2×4s at 8’ — floor frame
- 1× sheet 3/4“ pressure-treated plywood — floor
- 1× sheet 1/2“ exterior plywood — front and back walls
- 1× sheet 1/2“ exterior plywood — side walls
- 1× sheet 1/2“ exterior plywood — roof panels (two)
- 2× 2×2 at 8’ — wall framing nailers
- Ridge board: 1× 2×4 at 36“
- Roofing felt (one small roll)
- Cedar shingles or asphalt shingles (small bundle)
- Exterior wood glue
- 1.5“, 2“, and 2.5“ exterior screws
- Exterior paintable caulk
- Exterior primer and paint
The cut list
| Part | Material | Size | Qty |
|---|---|---|---|
| Floor frame long | PT 2×4 | 36“ | 2 |
| Floor frame short | PT 2×4 | 27“ | 2 |
| Floor panel | 3/4“ PT plywood | 30“ × 36“ | 1 |
| Front/back walls | 1/2“ ext. plywood | 30“ × 28“ + gable peak | 2 |
| Side walls | 1/2“ ext. plywood | 36“ × 26“ | 2 |
| Roof panels | 1/2“ ext. plywood | 36“ × 22“ | 2 |
| Ridge board | 2×4 | 36“ | 1 |
The gable peaks on the front and back walls are triangles that extend above the 28“ wall height to form the roof pitch. Mark them with a straightedge — both peaks must be identical or the ridge board won’t sit flat. Cut with a jigsaw.
Step by step
1. Build the floor frame. Screw the pressure-treated 2×4s into a simple rectangular frame: two long pieces at 36“ with two short pieces at 27“ between them. This keeps the floor off the ground so moisture can’t wick up into the plywood. Fasten the PT plywood floor panel to the top of the frame with 2“ exterior screws. No gaps — every inch of the floor edge should be supported.
2. Cut and mark the wall panels. On the front and back panels, mark the door opening on the front (centered, or offset if your placement works better) before you cut anything. The gable peaks on both panels should be the same height and the same pitch — cut one, use it as a template for the other.
3. Cut the door opening. Drill a starter hole inside your door opening mark, then cut around the line with a jigsaw. Clean up the edges with sandpaper. The door opening doesn’t need a frame — the plywood edge is fine — but caulk it well before painting.
4. Frame the walls. Attach 2×2 nailers inside the corners of the side walls — these give you something to fasten the front and back walls to. Stand the side walls on the floor panel and screw down through the floor into the bottom edge of the walls. Then stand the front and back walls and attach them to the side wall nailers.
5. Install the ridge board. The ridge board runs peak to peak between the front and back gable panels. It should sit exactly at the peak of both triangles. Fasten with 2.5“ screws through the gable panels into the ends of the ridge board.
6. Cut and attach the roof panels. The two roof panels lean from the ridge board down to the top edge of the side walls, overhang by about 2“ on each side. Hold each panel in place, mark it, and cut. Fasten to the ridge board and to the top of the side walls. At the peak, the two panels meet — leave a slight gap here; you’ll cap it with a strip of flashing or folded aluminum tape before shingling.
7. Install roofing felt and shingles. Staple roofing felt from the bottom of the roof panel up to the peak, overlapping each row by 2“. Then apply shingles from bottom to top, each row overlapping the one below. Follow the shingle manufacturer’s nailing pattern — two nails per shingle is standard for this scale. At the ridge, fold shingles over the peak or use pre-cut ridge cap shingles.
8. Caulk all the seams. Every joint where wood meets wood on an exterior surface gets a bead of paintable exterior caulk. The bottom of the walls where they meet the floor, the corners, the door opening edges, and the roof-to-wall junction are the critical spots. Smooth the caulk with a wet finger and let it cure before painting.
9. Prime and paint. Two coats of exterior paint over primer will last 5–7 years before needing a touch-up. Paint the inside too — it protects against moisture and makes cleaning easier. Let it cure fully before introducing your dog to the house.
Mistakes to avoid
No gap between floor and ground. Even pressure-treated plywood will rot faster than it should if it sits directly on soil. The floor frame keeps the plywood off the ground. If you want extra insurance, set the floor frame on two concrete pavers.
Door opening too big. A bigger opening feels friendlier but it defeats the thermal benefit of a house. Dogs keep their house warm with body heat. An opening barely big enough for the dog to walk through retains that heat much better in winter.
Skipping the ridge flashing. Where the two roof panels meet at the peak is the most common water entry point. Don’t just butt the panels together and shingle over it — cap the ridge properly.
Painting before caulk cures. Caulk needs time to skin over before paint adheres to it properly. Read the tube — most exterior caulks need at least an hour, some need 24 hours.
Want plans for the full dog setup?
If you want to add a matching outdoor run, a feeding station, or a raised platform for the house, our TedsWoodworking review covers what a large plan library includes for outdoor and utility builds — and whether it makes sense for the kind of projects you want to tackle.