How to Build a Birdhouse (Easy Beginner Plan)
A birdhouse is one of the most satisfying beginner builds because the stakes are low, the cuts are simple, and the finished piece actually gets used — by something that didn't ask for your opinion on the joinery.
A birdhouse is the build woodworkers recommend to anyone who asks “what should I make first?” The reason is straightforward: every cut is 90 degrees or a simple 45, the tolerances are forgiving, the material cost is under ten dollars, and if you make a mistake you can just cut a new piece without much grief.
This plan is sized for small cavity-nesting birds — house wrens, chickadees, and nuthatches. The entry hole diameter matters more than the overall size, so the dimensions here are tuned for those species. If you’re building for larger birds, the plan notes where to adjust.
Finished dimensions: 5“ × 5“ floor, 9“ tall body, peaked roof. Entrance hole: 1.25“ diameter (for wrens and chickadees) or 1.5“ (for nuthatches and small bluebirds).
What you’ll need
Tools:
- Miter saw or circular saw
- Drill/driver
- 1.25“ or 1.5“ spade bit or Forstner bit (for the entry hole)
- Sandpaper (120 grit is enough — see notes)
- Tape measure and speed square
- Clamps or a helper
Materials:
- 1× cedar fence board, 6“ wide (cedar is the traditional choice — it weathers well without paint and the natural oils deter insects)
- 1.5“ exterior wood screws or galvanized nails
- Optional: a short length of wooden dowel for a perch (many experts now recommend skipping the perch — predators use it more than songbirds do)
- No finish required for cedar; see notes below
On finishing: cedar birdhouses are best left unfinished on the interior. Paint and stain emit fumes that can affect eggs and hatchlings, and cedar’s natural oils are enough protection outdoors. If you want to paint the exterior, use a water-based exterior paint and leave the inside and the entry hole raw.
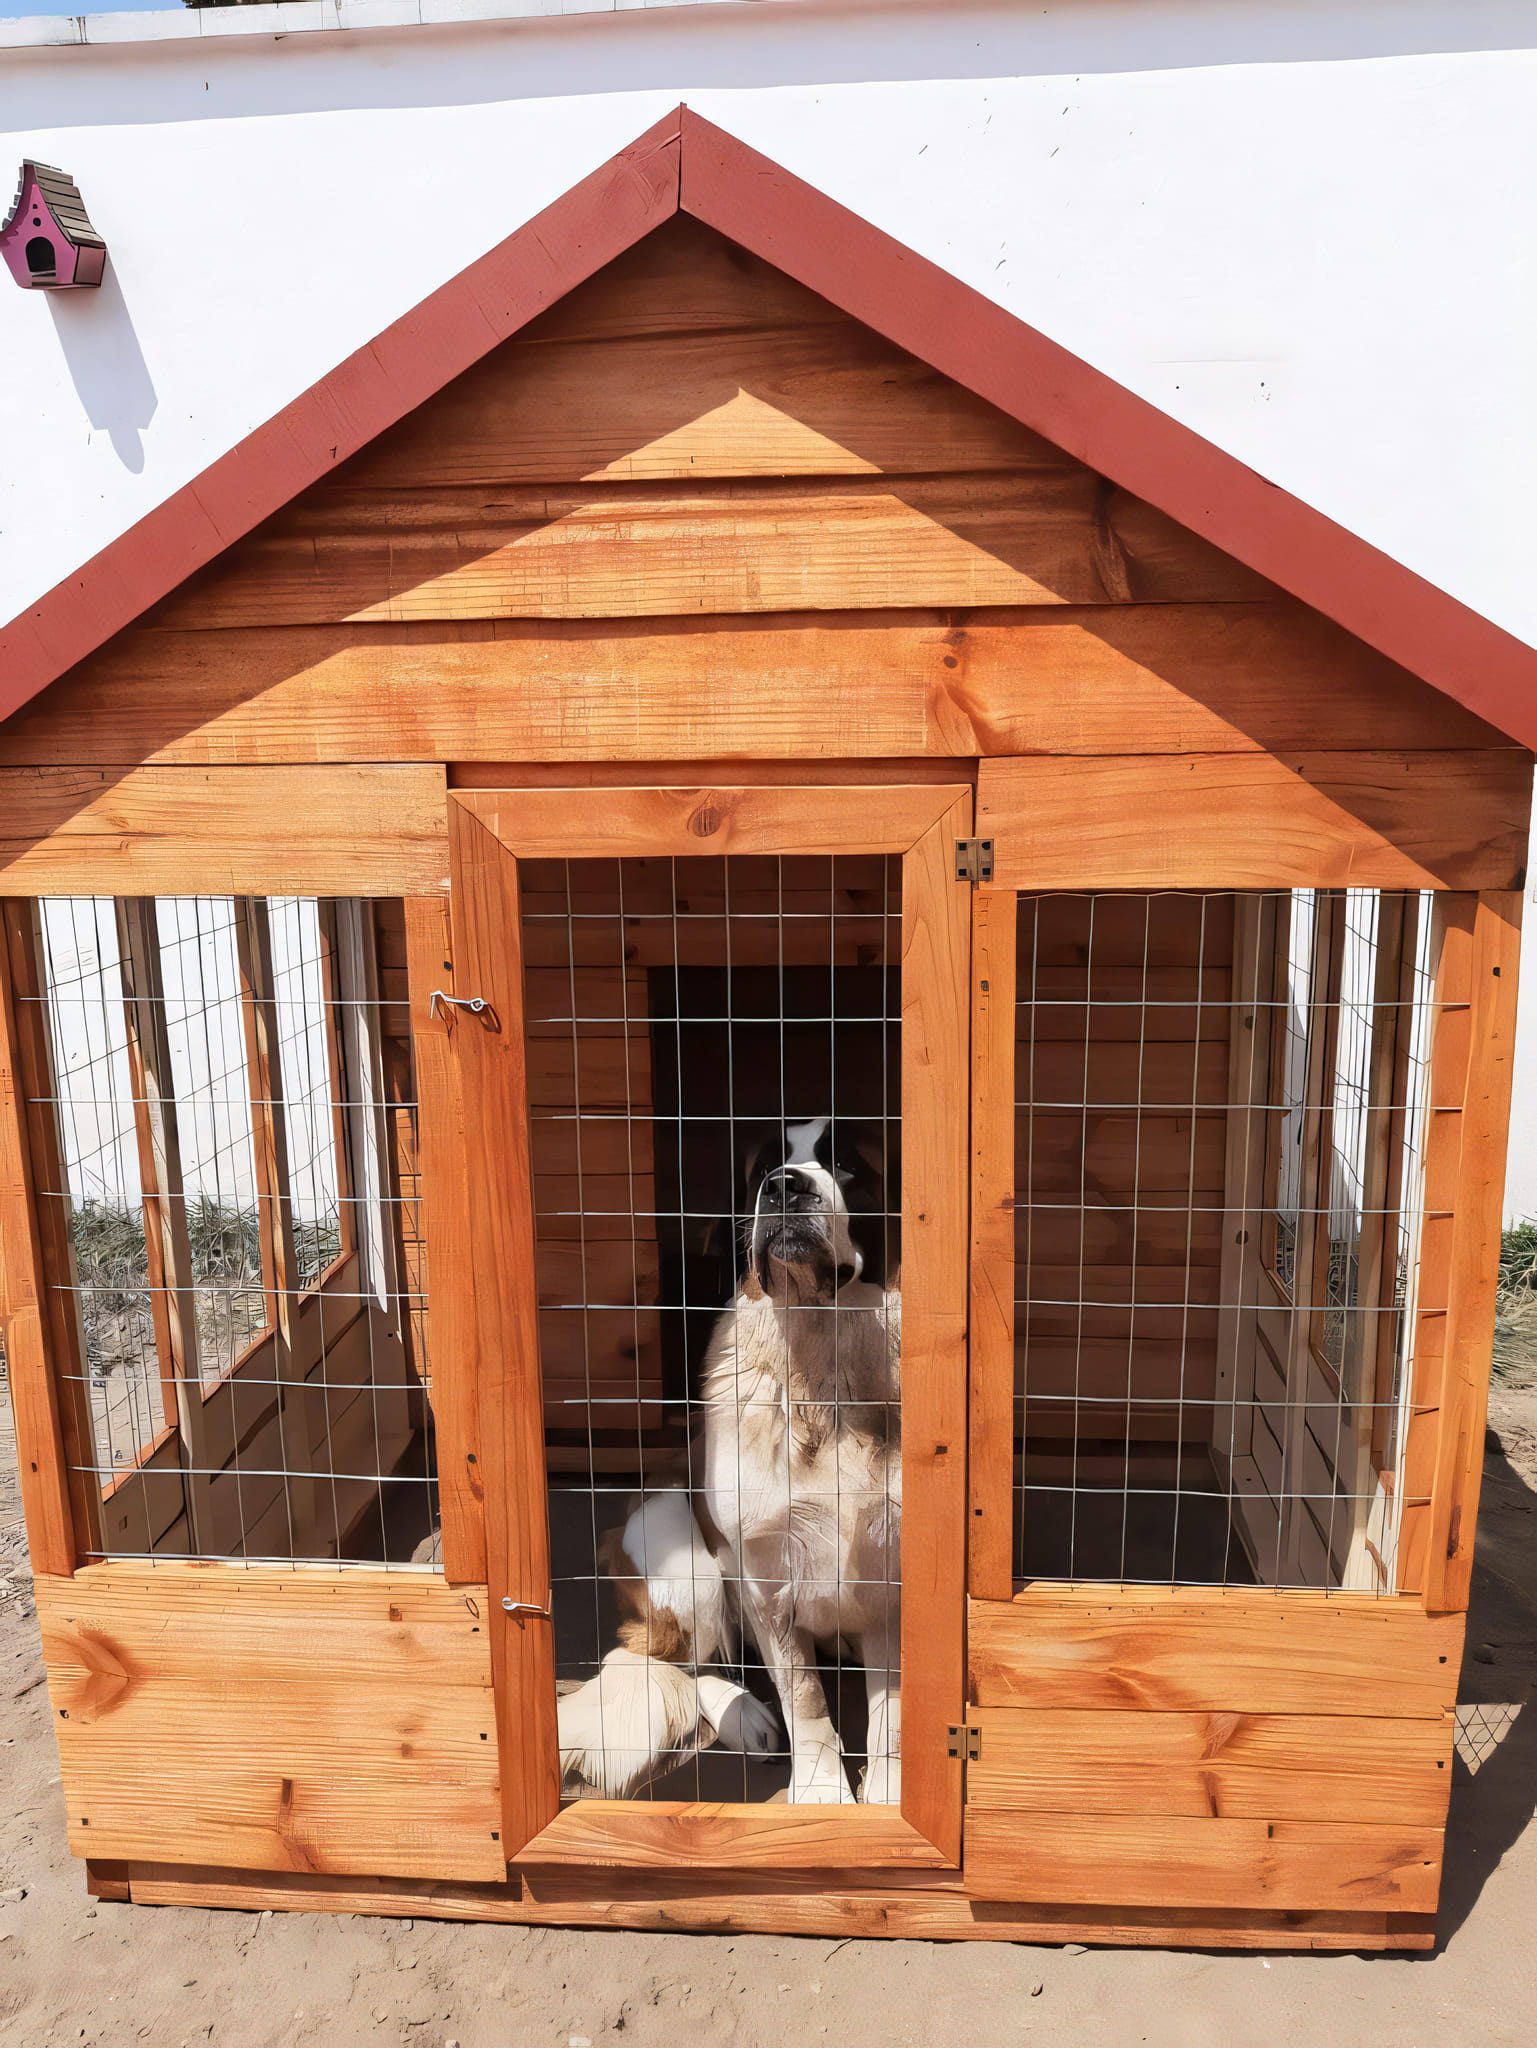
This build is simpler than something like a dog house — same outdoor exposure considerations, much less material and time.
The cut list
| Part | Material | Size | Qty |
|---|---|---|---|
| Floor | 1× 6 cedar | 5“ × 5“ | 1 |
| Front | 1× 6 cedar | 5“ × 9“ | 1 |
| Back | 1× 6 cedar | 5“ × 9“ | 1 |
| Sides | 1× 6 cedar | 5.5“ × 9“ (top angled at 45°) | 2 |
| Roof panels | 1× 6 cedar | 7“ × 7“ | 2 |
The side panels are cut with a 45-degree bevel at the top edge to support the peaked roof. All other cuts are 90 degrees.
Step by step
1. Cut the floor, front, and back. The floor, front, and back are all rectangular cuts — straightforward work for a miter saw. The front panel gets the entry hole drilled before assembly, so do that before anything is glued or screwed together.
2. Drill the entry hole. Mark the center of the entry hole on the front panel: 7“ up from the bottom edge, centered left-to-right. Clamp the panel to a backer board and drill with the spade or Forstner bit. Go slowly to avoid blowout, or drill from both sides. Smooth the inside edge of the hole with sandpaper — rough edges can wear on birds entering and exiting.
Also drill two or three small drainage holes (¼“) in the floor panel and a few ventilation holes (¼“) near the top of the front and back panels, just below where the roof will sit. These aren’t decorative — they keep the interior dry and habitable.
3. Cut the side panels with a bevel. Set your saw to 45 degrees and bevel the top edge of each side panel. Both panels bevel in the same direction — the peak is in the center of the roof. If your saw doesn’t tilt, you can cut a 45-degree wedge from a scrap piece and use it as a shim.
4. Assemble the box. Start with the floor and one side panel. Drive screws through the side into the edge of the floor — two screws per joint is plenty. Add the second side, then the front and back panels. Check that the body is square by measuring diagonals before the screws are fully seated. Leave one side panel fastened with only a single screw at the bottom — this creates a cleanout door so you can clear out the nest between seasons.
5. Attach the roof. The two roof panels meet at the peak. Hold one panel in place at 45 degrees and screw it to the top of the side panels. Butt the second panel against it at the peak and screw it down the same way. A bead of exterior wood glue at the peak joint keeps weather out; you don’t need to caulk anything else.
6. Mount it. Birdhouses should be 5–10 feet off the ground, facing away from prevailing winds, out of direct afternoon sun. Pre-drill a hole through the back panel to hang or mount it. If you’re mounting to a post, drive two screws through the back panel from inside before the roof goes on — much easier to reach.
Mistakes to avoid
Making the entry hole too large. A 1.25“ hole is specific for a reason — it excludes house sparrows, which will out-compete wrens and chickadees for the nest. Going bigger because it “seems roomier” invites the wrong tenants.
Skipping the drainage and ventilation holes. A sealed box traps heat and moisture. Without drainage at the floor and vents near the top, you’ll have condensation and standing water inside — not a livable space for a bird.
Using treated lumber. Pressure-treated wood contains preservatives that are toxic to birds and their eggs. Use cedar, redwood, or untreated pine only.
Painting the inside. See the materials note above. Leave the interior and the entry hole raw wood.
Installing a perch. It feels like a nice touch, but a short perch peg gives predators — cats, starlings, house sparrows — a grip point to reach into the nest hole. Leave it off.
Want complete plans for hundreds of outdoor projects?
This is one birdhouse plan. If you want dimensioned drawings, cut lists, and step-by-step instructions for hundreds of outdoor builds in one library, our full TedsWoodworking review covers what’s included and whether it’s worth it for where you’re headed with woodworking.