How to Build an End Table
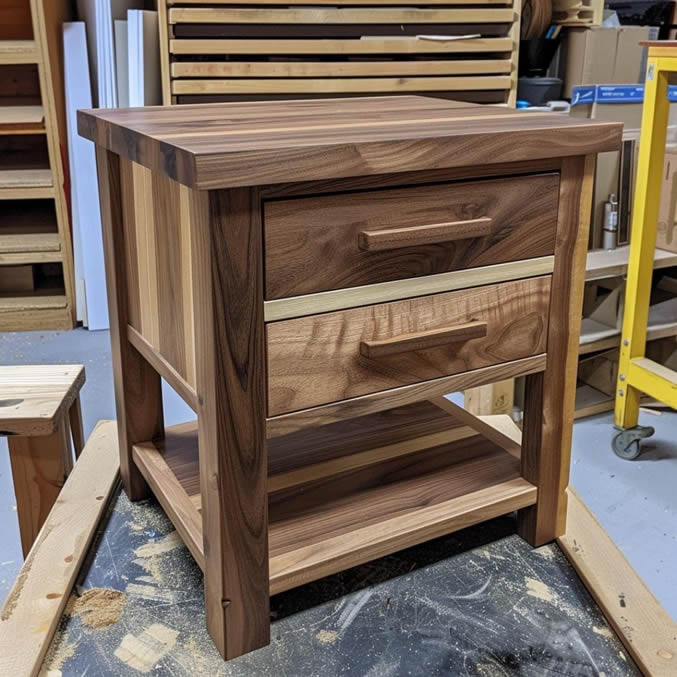
An end table is a smaller, faster version of a coffee table - same construction logic, less material, and a result that looks like real furniture. Good second or third build.
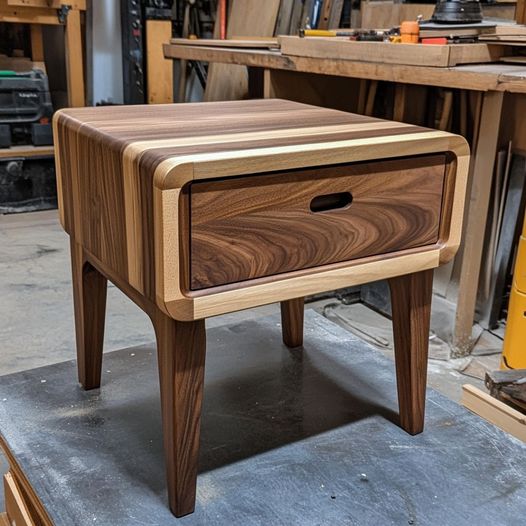
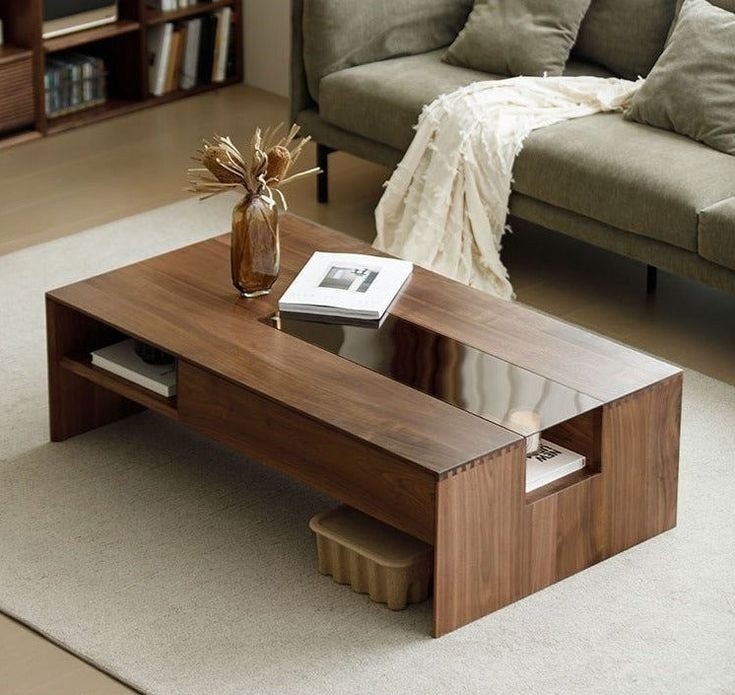
An end table is where a lot of beginners discover they actually enjoy this. The piece is small enough to finish in a weekend, large enough to look like real furniture when it is done, and the construction is close enough to a coffee table that the skills transfer directly. If you want to build a coffee table next, do this one first. The coffee table plan uses the same apron-and-leg structure at a larger scale.
Finished dimensions: 20 inches wide, 20 inches deep, 24 inches tall.
What you will need
Tools:
- Miter saw or circular saw
- Drill/driver
- Pocket-hole jig (recommended)
- Random orbit sander
- Tape measure and speed square
- Clamps (four is ideal)
Materials:
- Solid panel or 3/4-inch plywood for the top, 20 x 20 inches
- 4 legs at 1-3/4 x 1-3/4 x 23-1/4 inches (poplar or pine both work fine)
- 1x4 apron boards for the four sides
- 1-1/4-inch pocket screws
- Wood glue
- 80, 120, and 220-grit sandpaper
- Finish: wipe-on poly is reliable for a piece that sees daily use
The cut list
| Part | Material | Size | Qty |
|---|---|---|---|
| Top | 3/4 inch solid panel or plywood | 20 x 20 inches | 1 |
| Legs | 1-3/4 x 1-3/4 inch square stock | 23-1/4 inches | 4 |
| Aprons | 1x4 (ripped to 3 inches) | 14-1/2 inches | 4 |
Apron length equals top width minus two leg thicknesses minus two apron thicknesses. Adjust if you change material sizes.
Step by step
1. Prepare the top. If you are gluing up a solid wood panel, do it first and let it cure overnight. Plywood tops can be cut and used right away.
2. Cut the legs to length. Stack or tape all four legs together and cut them in a single pass. One cut, four identical legs. Even a small difference in length makes a table rock.
3. Drill pocket holes in the aprons. Two pocket holes at each end, inside face, jig set for 3/4-inch material.
4. Build two end assemblies. Join two legs with one apron using glue and pocket screws. Check 90 degrees with a speed square before the glue grabs. Build both assemblies and let them sit 20 minutes.
5. Connect the remaining aprons. Stand both end assemblies upright and bridge them with the remaining two aprons. Glue and screw the same way. Check that all four legs sit flat before the glue cures.
6. Attach the top. Flip the top face-down. Center the base and fasten through the aprons. If the top is solid wood, use figure-8 clips or tabletop fasteners in routed slots rather than fixed screws - solid wood moves seasonally and a rigidly fastened top will crack. Plywood tops can be screwed directly.
7. Sand and finish. Work through 80 (if needed), 120, then 220. Ease every edge with 120. Two thin coats of finish, scuffed lightly between coats.
Mistakes to avoid
Gang-cut the legs or the table will rock. Individual cuts drift. Stack them, tape them, cut once.
Pocket screws need glue. Screws alone work loose in the apron-to-leg joint over time. Glue makes it permanent. Use both.
Solid tops need to float. A 20-inch solid wood top moves with humidity. Screwing it down solid all the way around means something gives - usually the top cracks or the screws pull out of the apron. Use tabletop fasteners.
Thin coats on the finish. One heavy coat gets tacky and uneven. Two thin coats with a light scuff between them look better and last longer.
Ready for the next build?
Once you have built this one, the coffee table plan is the natural next step - same structure at a larger scale. And if you want dimensioned drawings and cut lists for a wide range of furniture builds in one place, our full review covers what is available and who it makes sense for.