How to Build a Toy Box (with Safe Hinge Lid)
A toy box is one of those builds that gets used hard for years and then becomes something a kid takes with them when they move out. The trick is making the lid safe — a lid that slams shut can hurt small fingers. This plan covers that detail properly.
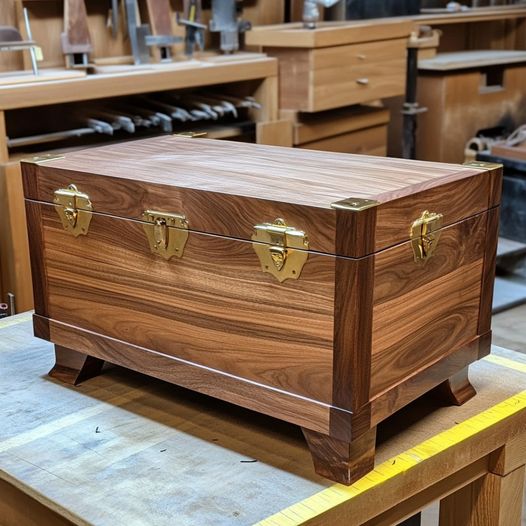
A toy box is about as practical as woodworking gets. You build it once, it earns its place in a room for a decade, and the joinery does not need to be complicated. This plan uses three-quarter-inch plywood, butt joints, pocket screws, and a lid support hinge that holds the lid open so it cannot drop on fingers. That last part is non-negotiable if small kids are involved.
Finished dimensions: 36 inches wide, 18 inches deep, 20 inches tall (lid included).
What you will need
Tools:
- Circular saw or table saw (for breaking down plywood)
- Drill/driver
- Pocket-hole jig
- Random orbit sander
- Tape measure and speed square
- Clamps
If you have built a bookcase before, this is the same family of work — rectangular case, plywood panels, simple joinery. The bookshelf build covers those fundamentals in more detail if you want a warm-up before this one.
Materials:
- 2 sheets of 3/4-inch plywood (cabinet grade looks cleaner; sanded pine is cheaper and fine)
- 1-1/4-inch pocket screws
- 48-inch piano hinge (trimmed to 34 inches for the lid attachment)
- 2 lid support hinges (soft-close or chain style)
- Wood glue
- 80, 120, and 220-grit sandpaper
- Finish: two coats of water-based poly holds up well under heavy use
The cut list
| Part | Material | Size | Qty |
|---|---|---|---|
| Front/back panels | 3/4“ plywood | 36“ x 17-1/4“ | 2 |
| Side panels | 3/4“ plywood | 16-1/2“ x 17-1/4“ | 2 |
| Bottom | 3/4“ plywood | 34-1/2“ x 16-1/2“ | 1 |
| Lid | 3/4“ plywood | 36“ x 18“ | 1 |
The side panels are narrower to account for the front and back panel thickness on each side. Double-check your math before cutting — you cannot uncut a sheet of plywood.
Step by step
1. Break down your plywood. Mark out all panels on your sheets before cutting anything. Efficient layout saves material. Cut the larger pieces first, then trim each to final dimensions.
2. Drill pocket holes. Pocket holes go on the inside faces of the front and back panels, top and bottom edges. Two holes per corner attachment point is enough for 3/4-inch plywood.
3. Assemble the box. Join the front and back panels to the side panels with glue and pocket screws. Check square by measuring diagonals — equal diagonals mean square. Let the glue grab before moving the assembly.
4. Attach the bottom. Drop the bottom panel in from inside. It should sit flush against the lower edges of all four walls. Fasten with pocket screws through the bottom into the sides, or drive screws through the front and back into the bottom edge. Glue every joint.
5. Sand the interior before adding the lid. Much easier to do now than after the lid is on. Work through 80 (if needed), 120, then 220.
6. Attach the piano hinge. The piano hinge runs along the full back edge, connecting the back wall to the lid. Pre-drill pilot holes — plywood edge grain does not take screws reliably without them. Attach the hinge to the box first, then lay the lid in position and fasten the other leaf.
7. Install the lid supports. Lid support hinges mount inside the box on each side wall, connecting to the underside of the lid. Set them so the lid holds open at roughly 95 degrees and cannot travel further back.
8. Round over the edges and finish. Round every exposed edge with sandpaper or a 1/8-inch roundover bit. Sharp plywood edges splinter badly with use. Apply finish and let it cure fully before the box goes into a kid’s room.
Mistakes to avoid
Skipping the lid supports. A hinged lid without supports slams shut under its own weight. Even a lightweight 3/4-inch plywood lid can hurt small fingers badly. Use proper lid supports rated for the lid weight — a fixed chain is not an adequate substitute.
Cutting all four walls the same width. The front and back run full-width. The sides fit between them, so they are shorter by two panel thicknesses. It is the most common first-time error on a box build. Sketch it out before you cut.
Rough plywood on the interior. The inside of a toy box takes a beating and rough plywood splinters. Sanded pine or cabinet-grade on interior faces — or a thin hardboard liner — fixes this cheaply.
No pilot holes in edge grain. Plywood edge grain splits easily. Every screw going into an edge needs a pilot hole, especially along the piano hinge.
Want plans for more builds like this?
This is one project. If you want dimensioned drawings, cut lists, and step-by-step guides across a much larger library, our full review covers what plan collections are worth it and what you actually get inside them.